We believe your privacy is very important. We use cookies to track your behaviour and provide a better experience
Backend Helpers | Automation and Software Development for Cloud Applicationses
Introduction to AWS Elastic Computing Cloud EC2

Amazon EC2 is a service that provides computer power in the cloud. In this post we explore the basis of this service.
Open a Free Account
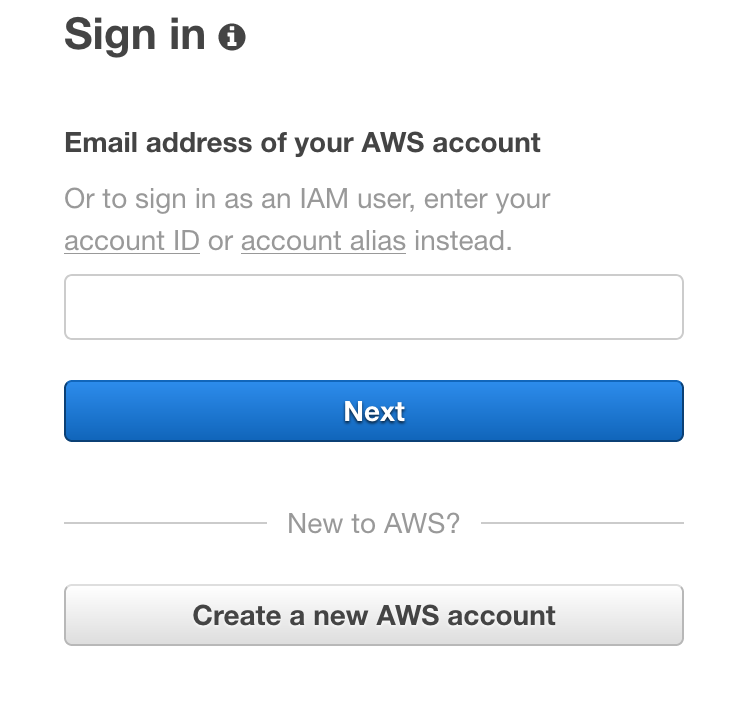
You need a valid AWS account to access any AWS service including EC2. You can create a free account by going to this link and filling the registration form:

Create a IAM User For Managing EC2 Resources
In the following steps we are going to create a user with access to EC2 resources management
Step 1: Go to your console account and login
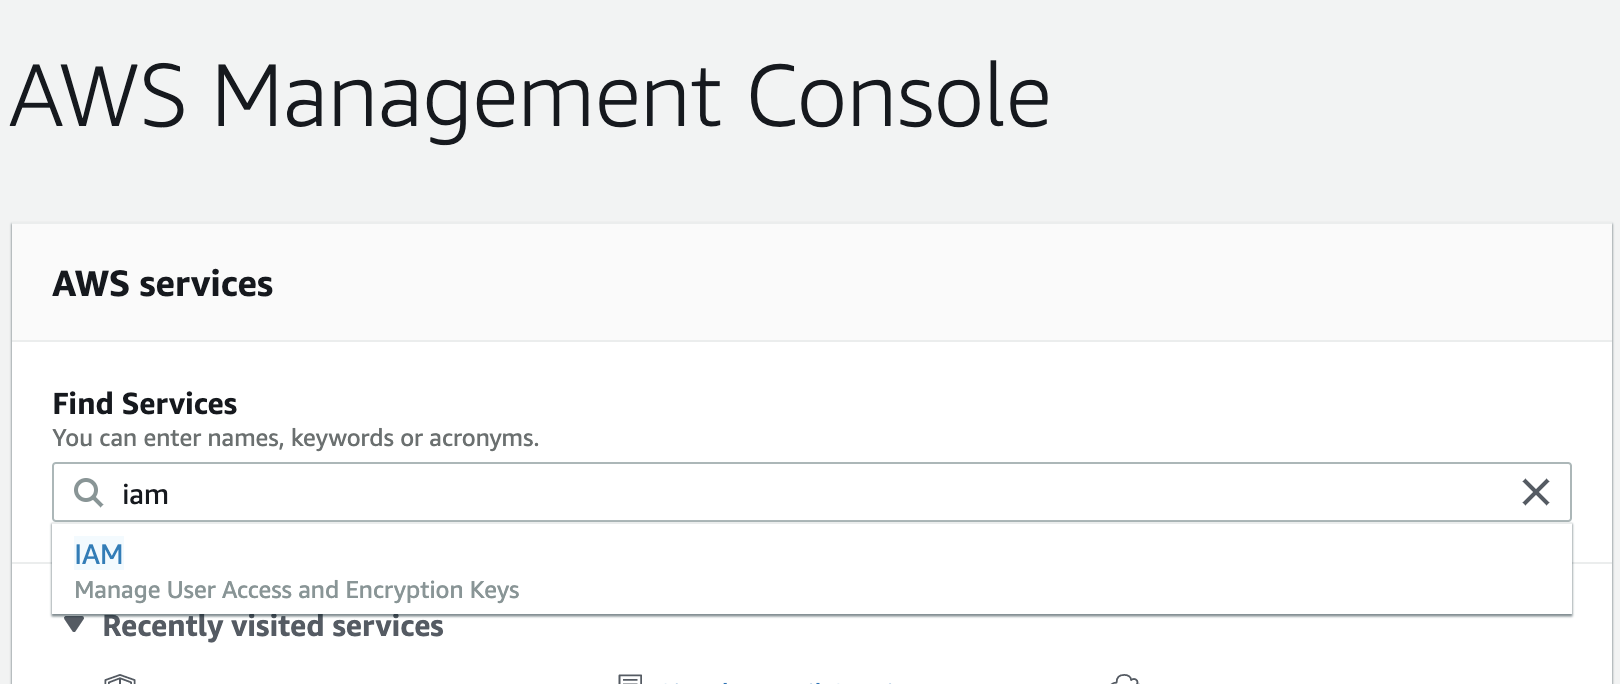
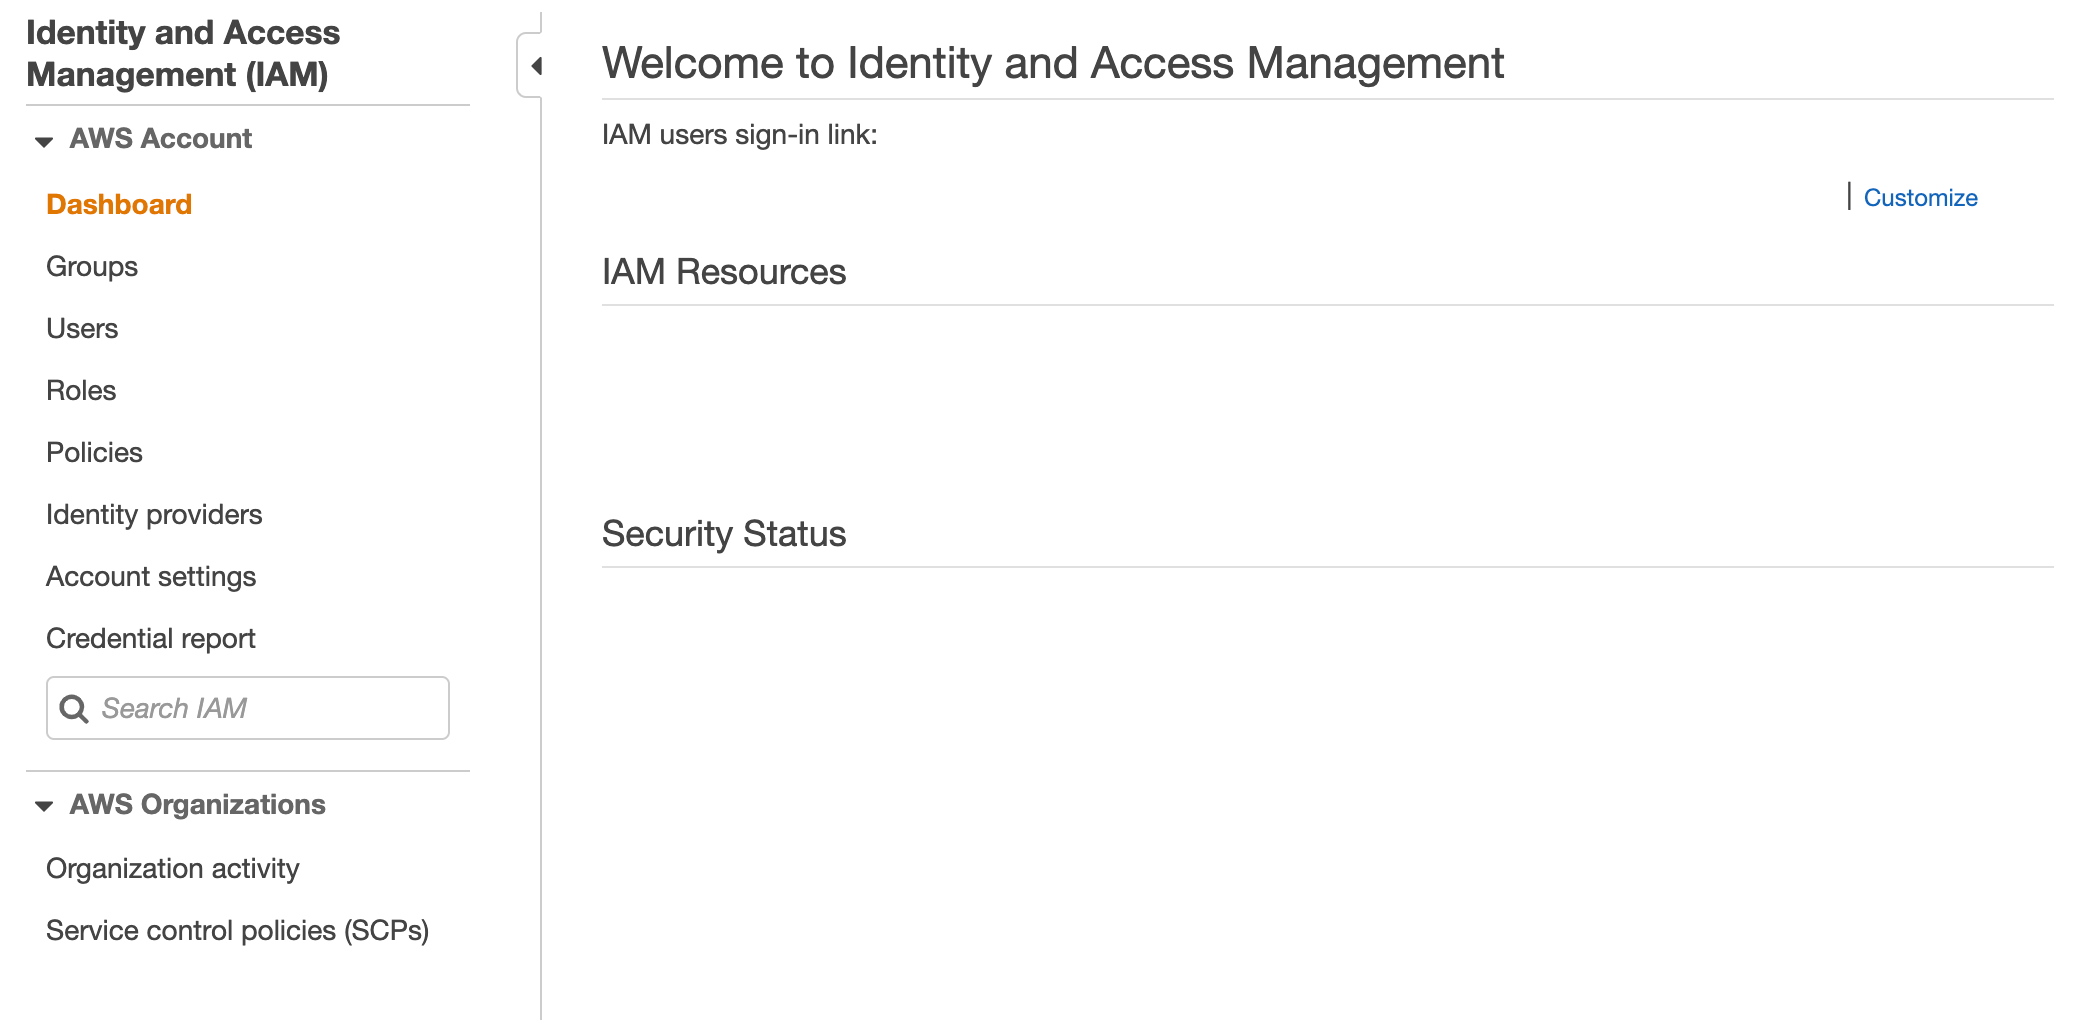
Step 2: Use the console search box to search for IAM services
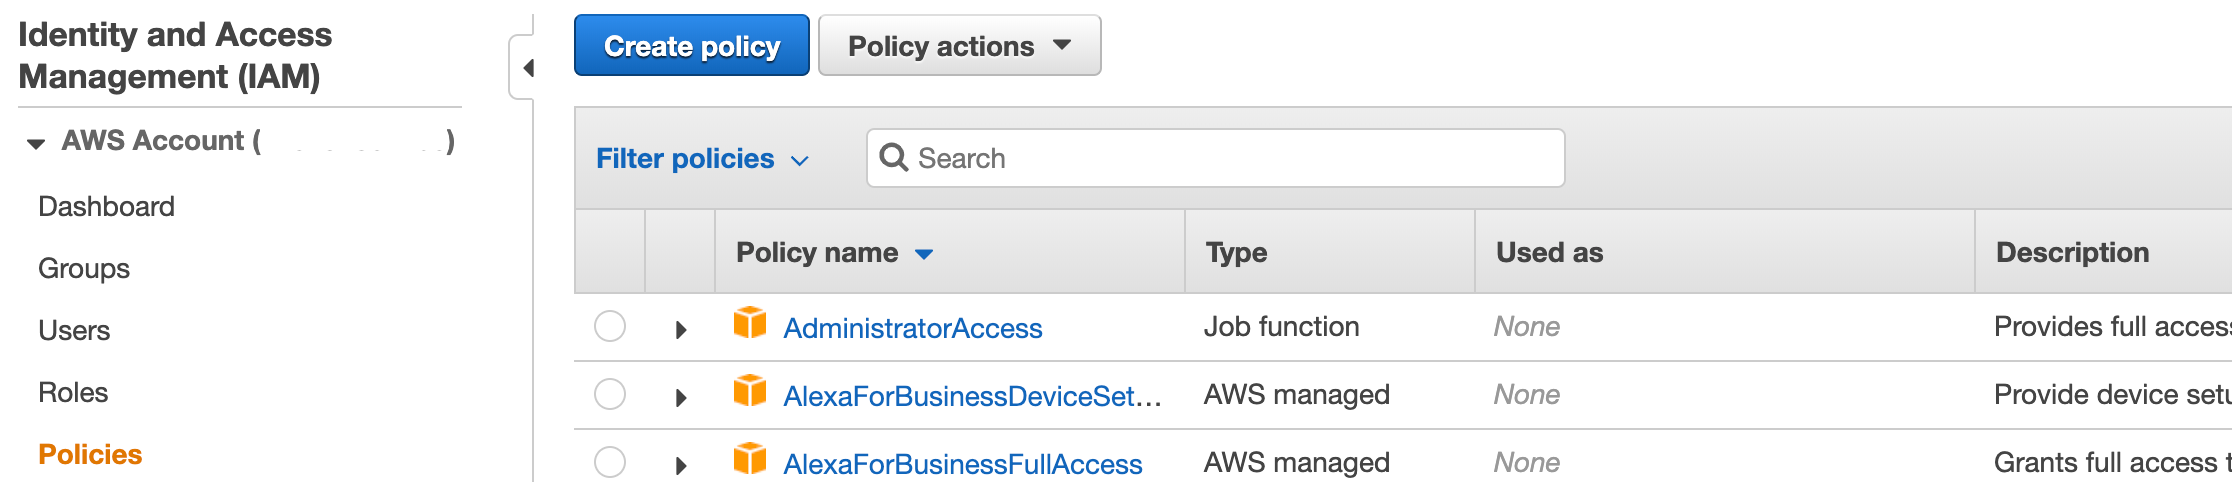
Step 2: Go to the Policies link and click the Create Policy button
Step 3: Click the JSON tab and Copy the Following Policy definition
{
    "Version": "2012-10-17",
    "Statement":[{
       "Effect":"Allow",
       "Action":["ec2:*"],
       "Resource":"*"
       }
    ]
 }
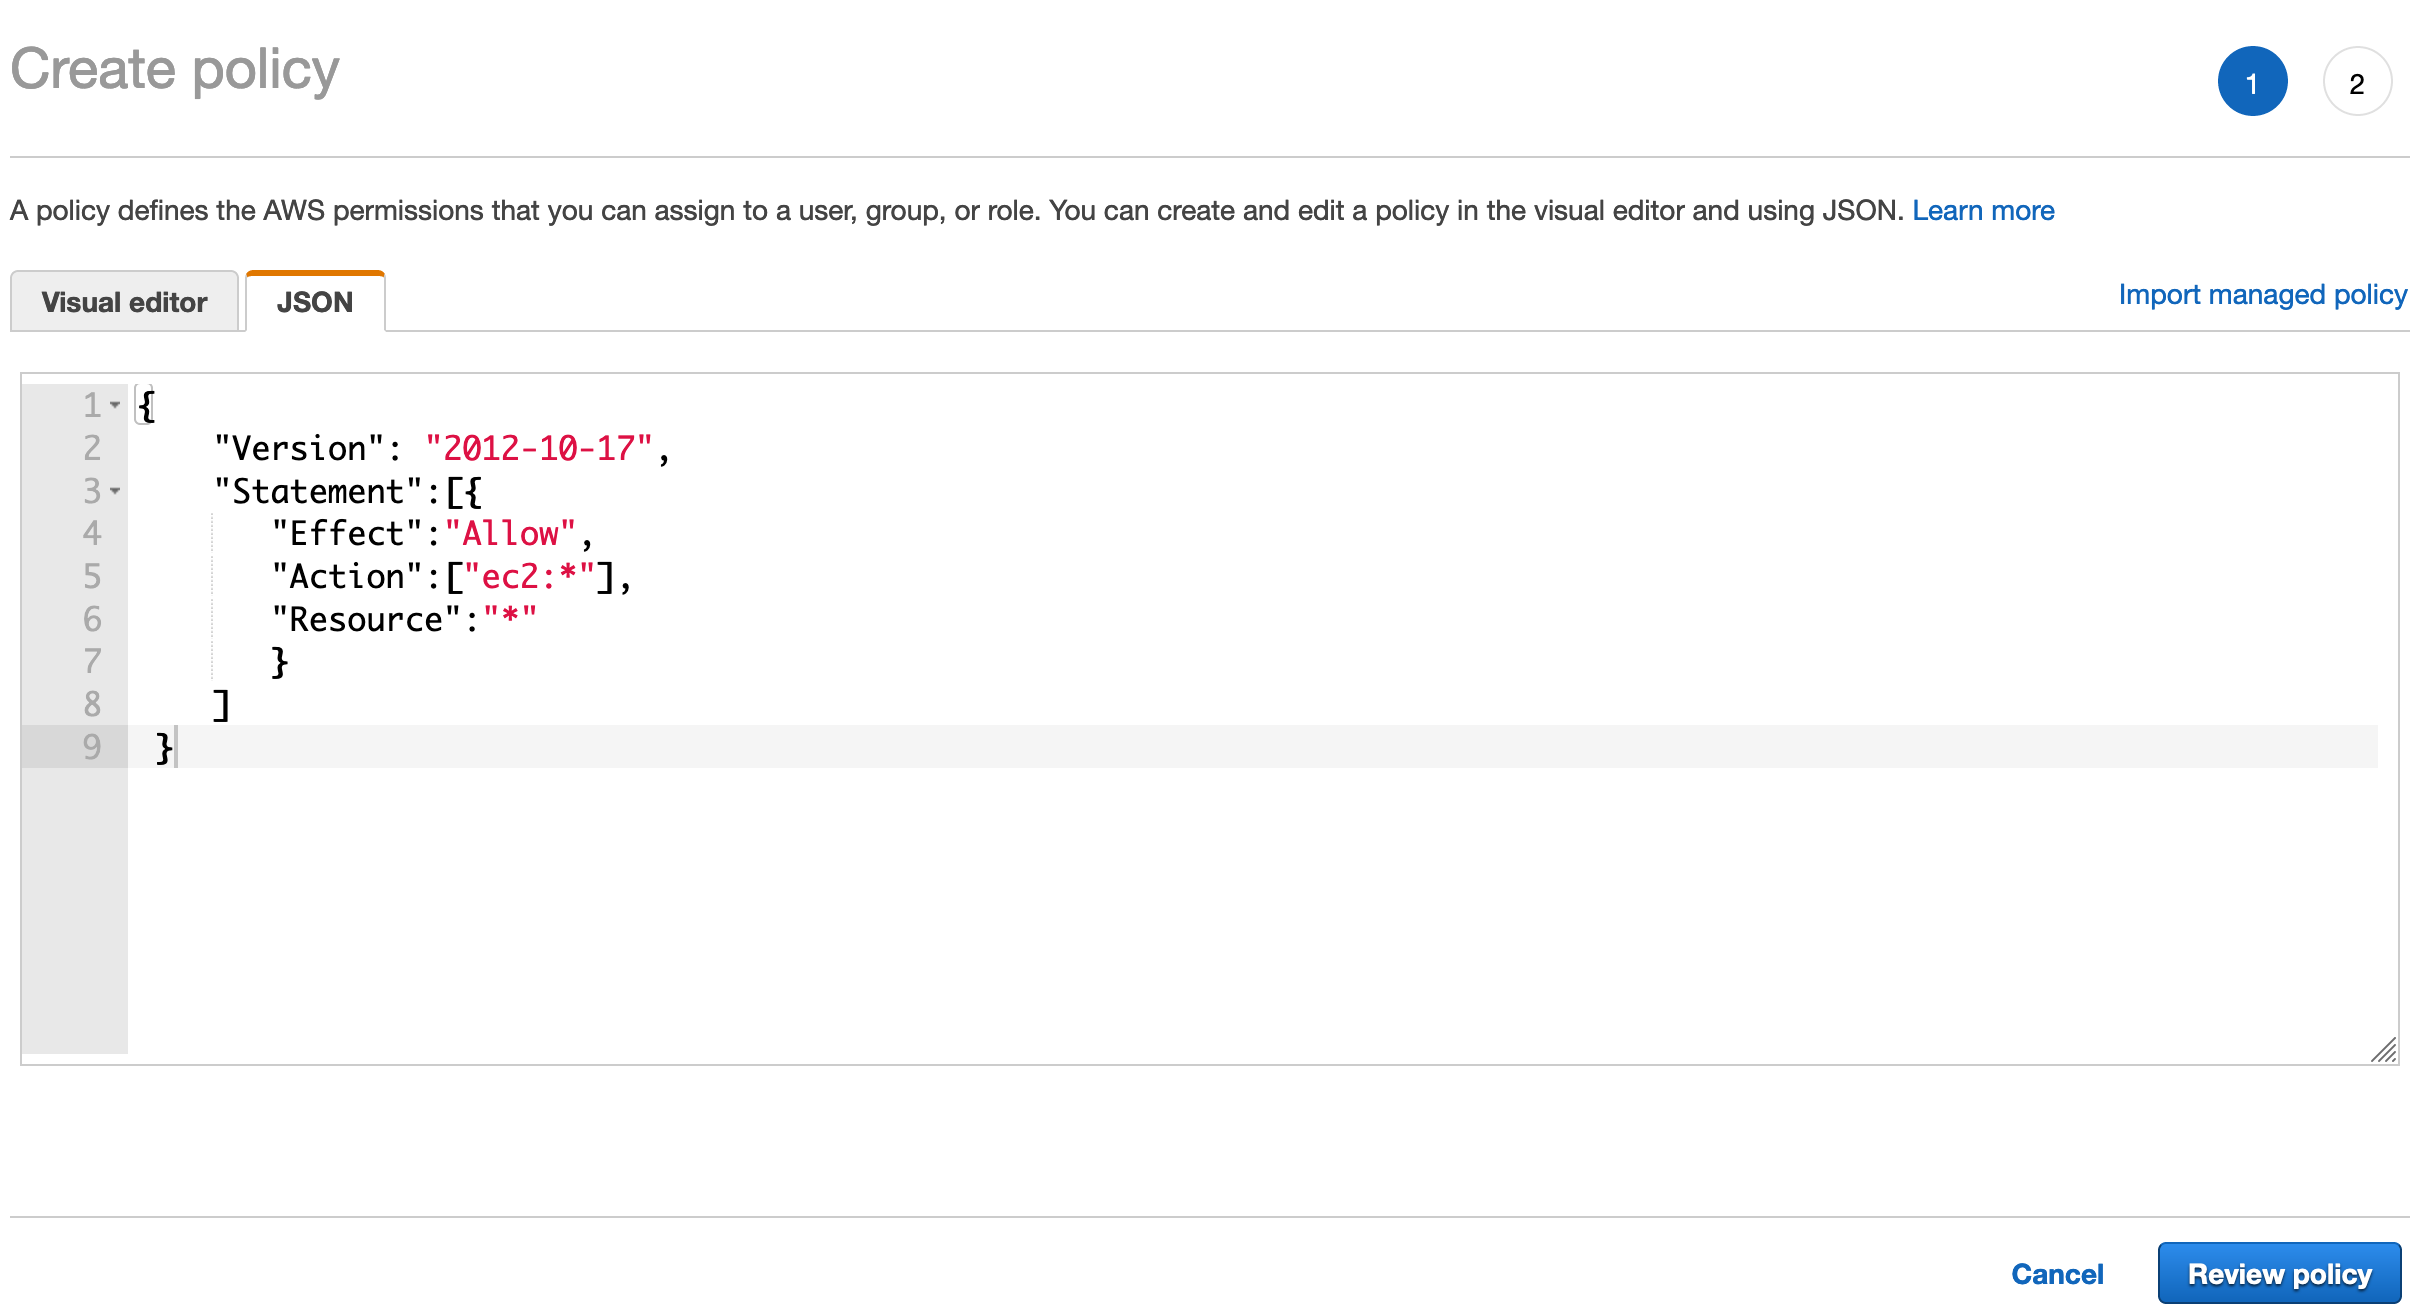
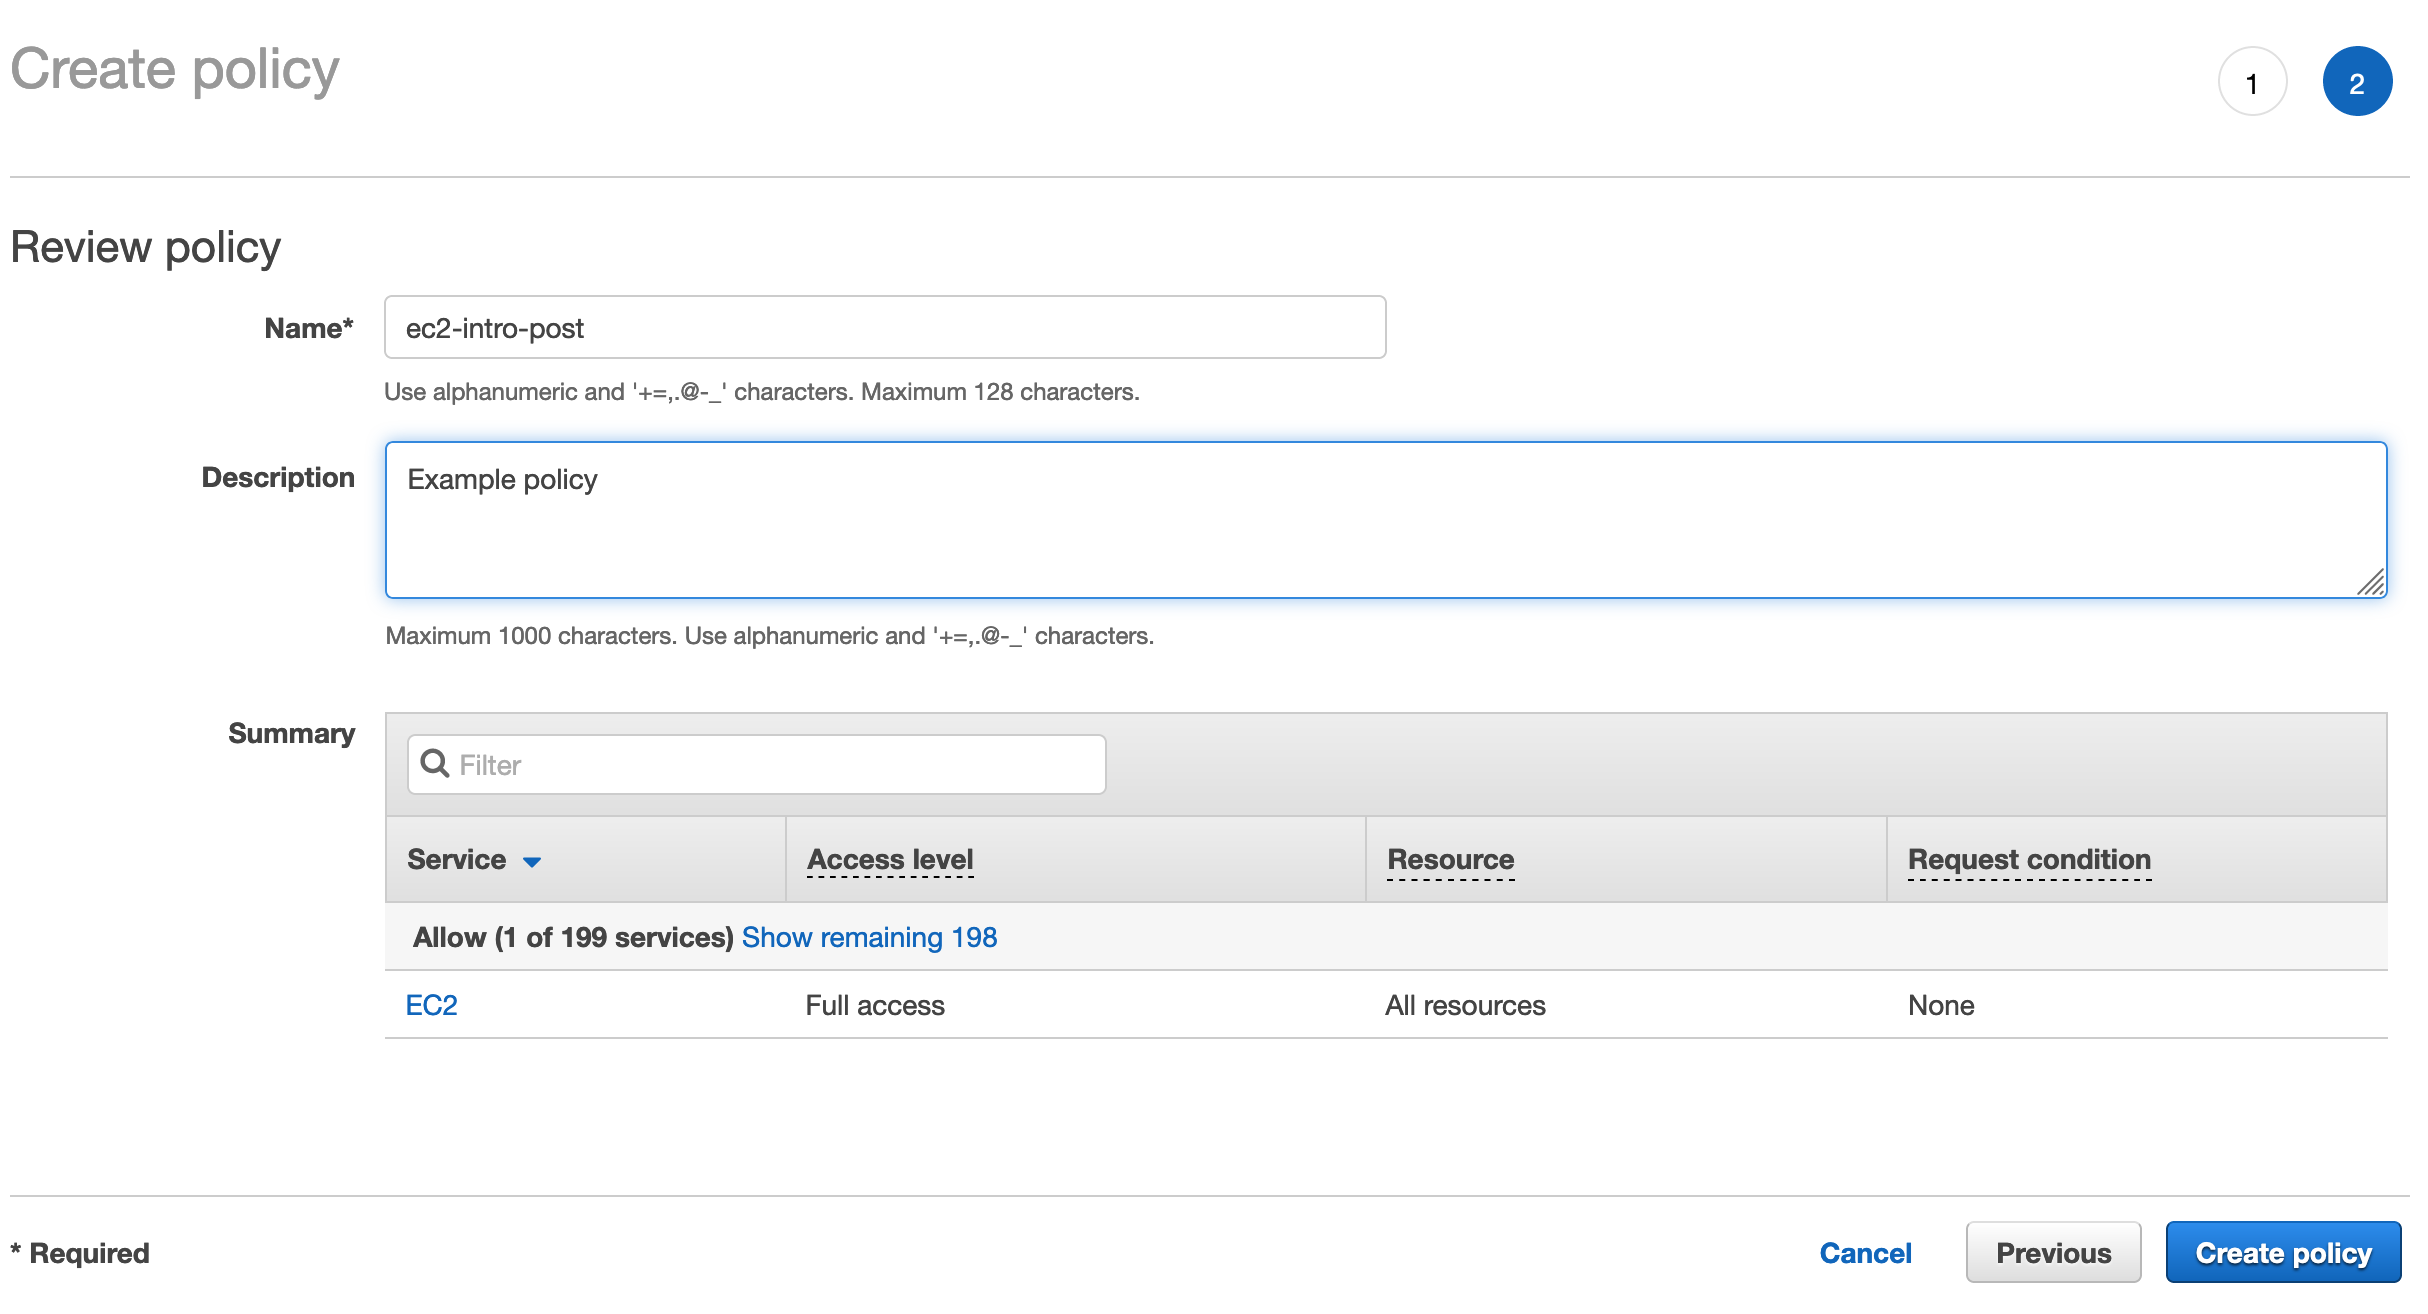
Step 4: Review Policy Details and Create
Creating a Security Group with EC2 Access
In the following steps we are going to create a security group with access to EC2 resources:
Step 1: Click the Groups link on the left in your IAM home page
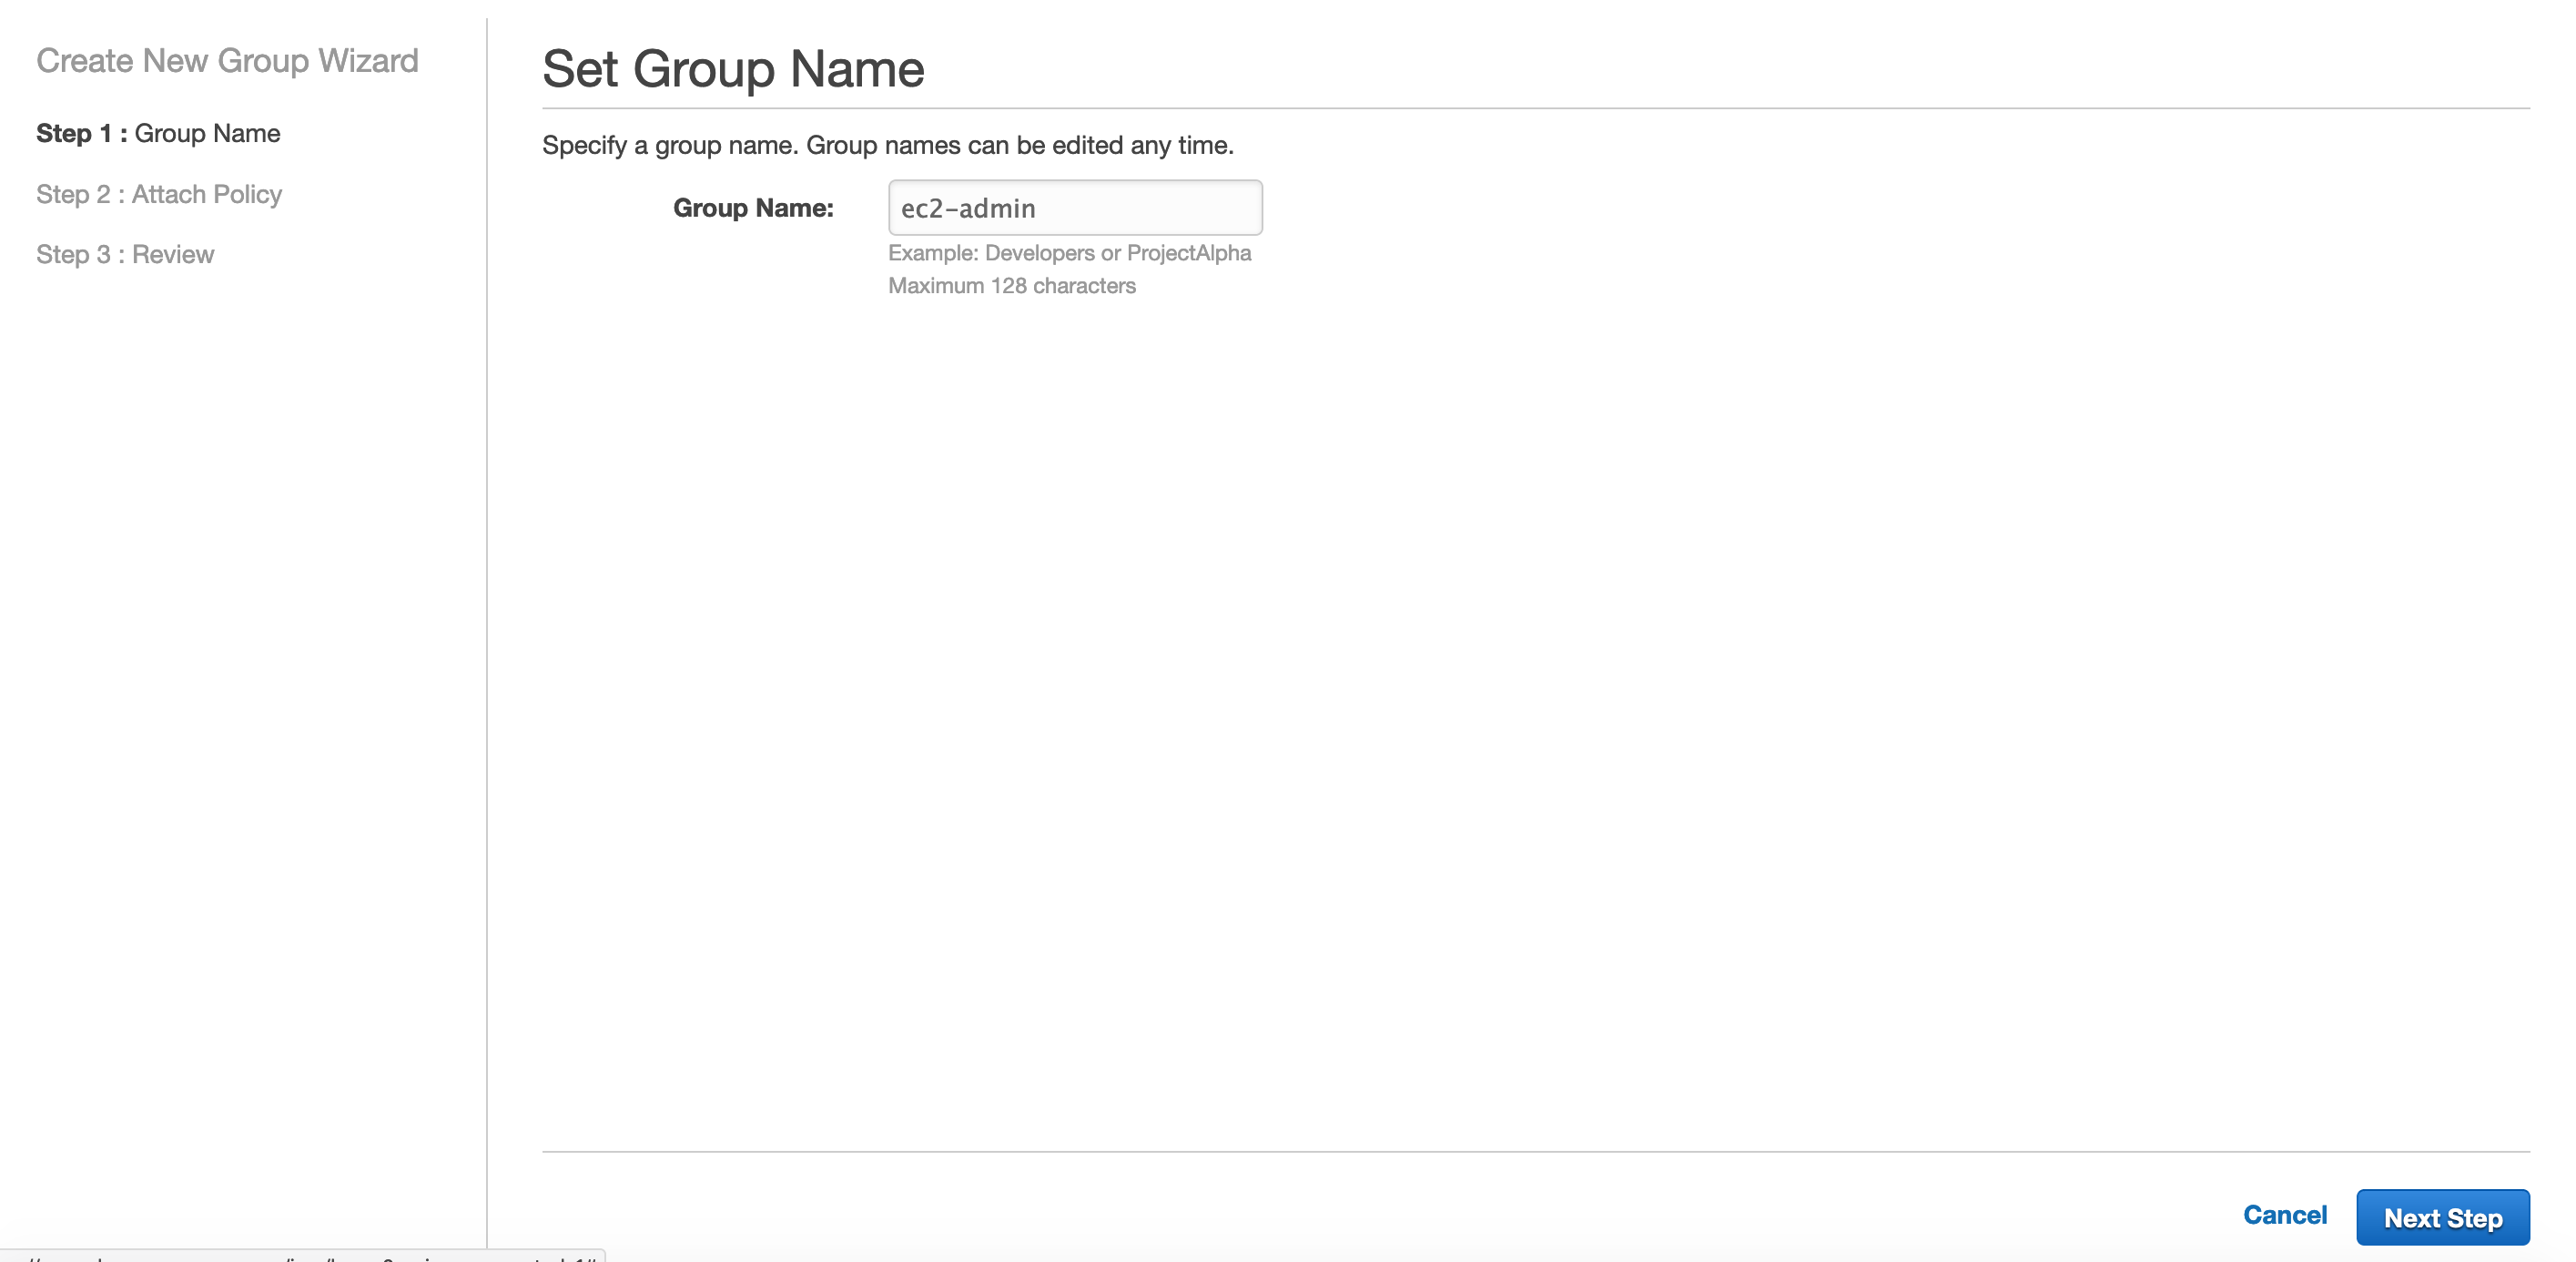
Step 2: Click on the create new group button

Step 3: Enter a name for your group and click next
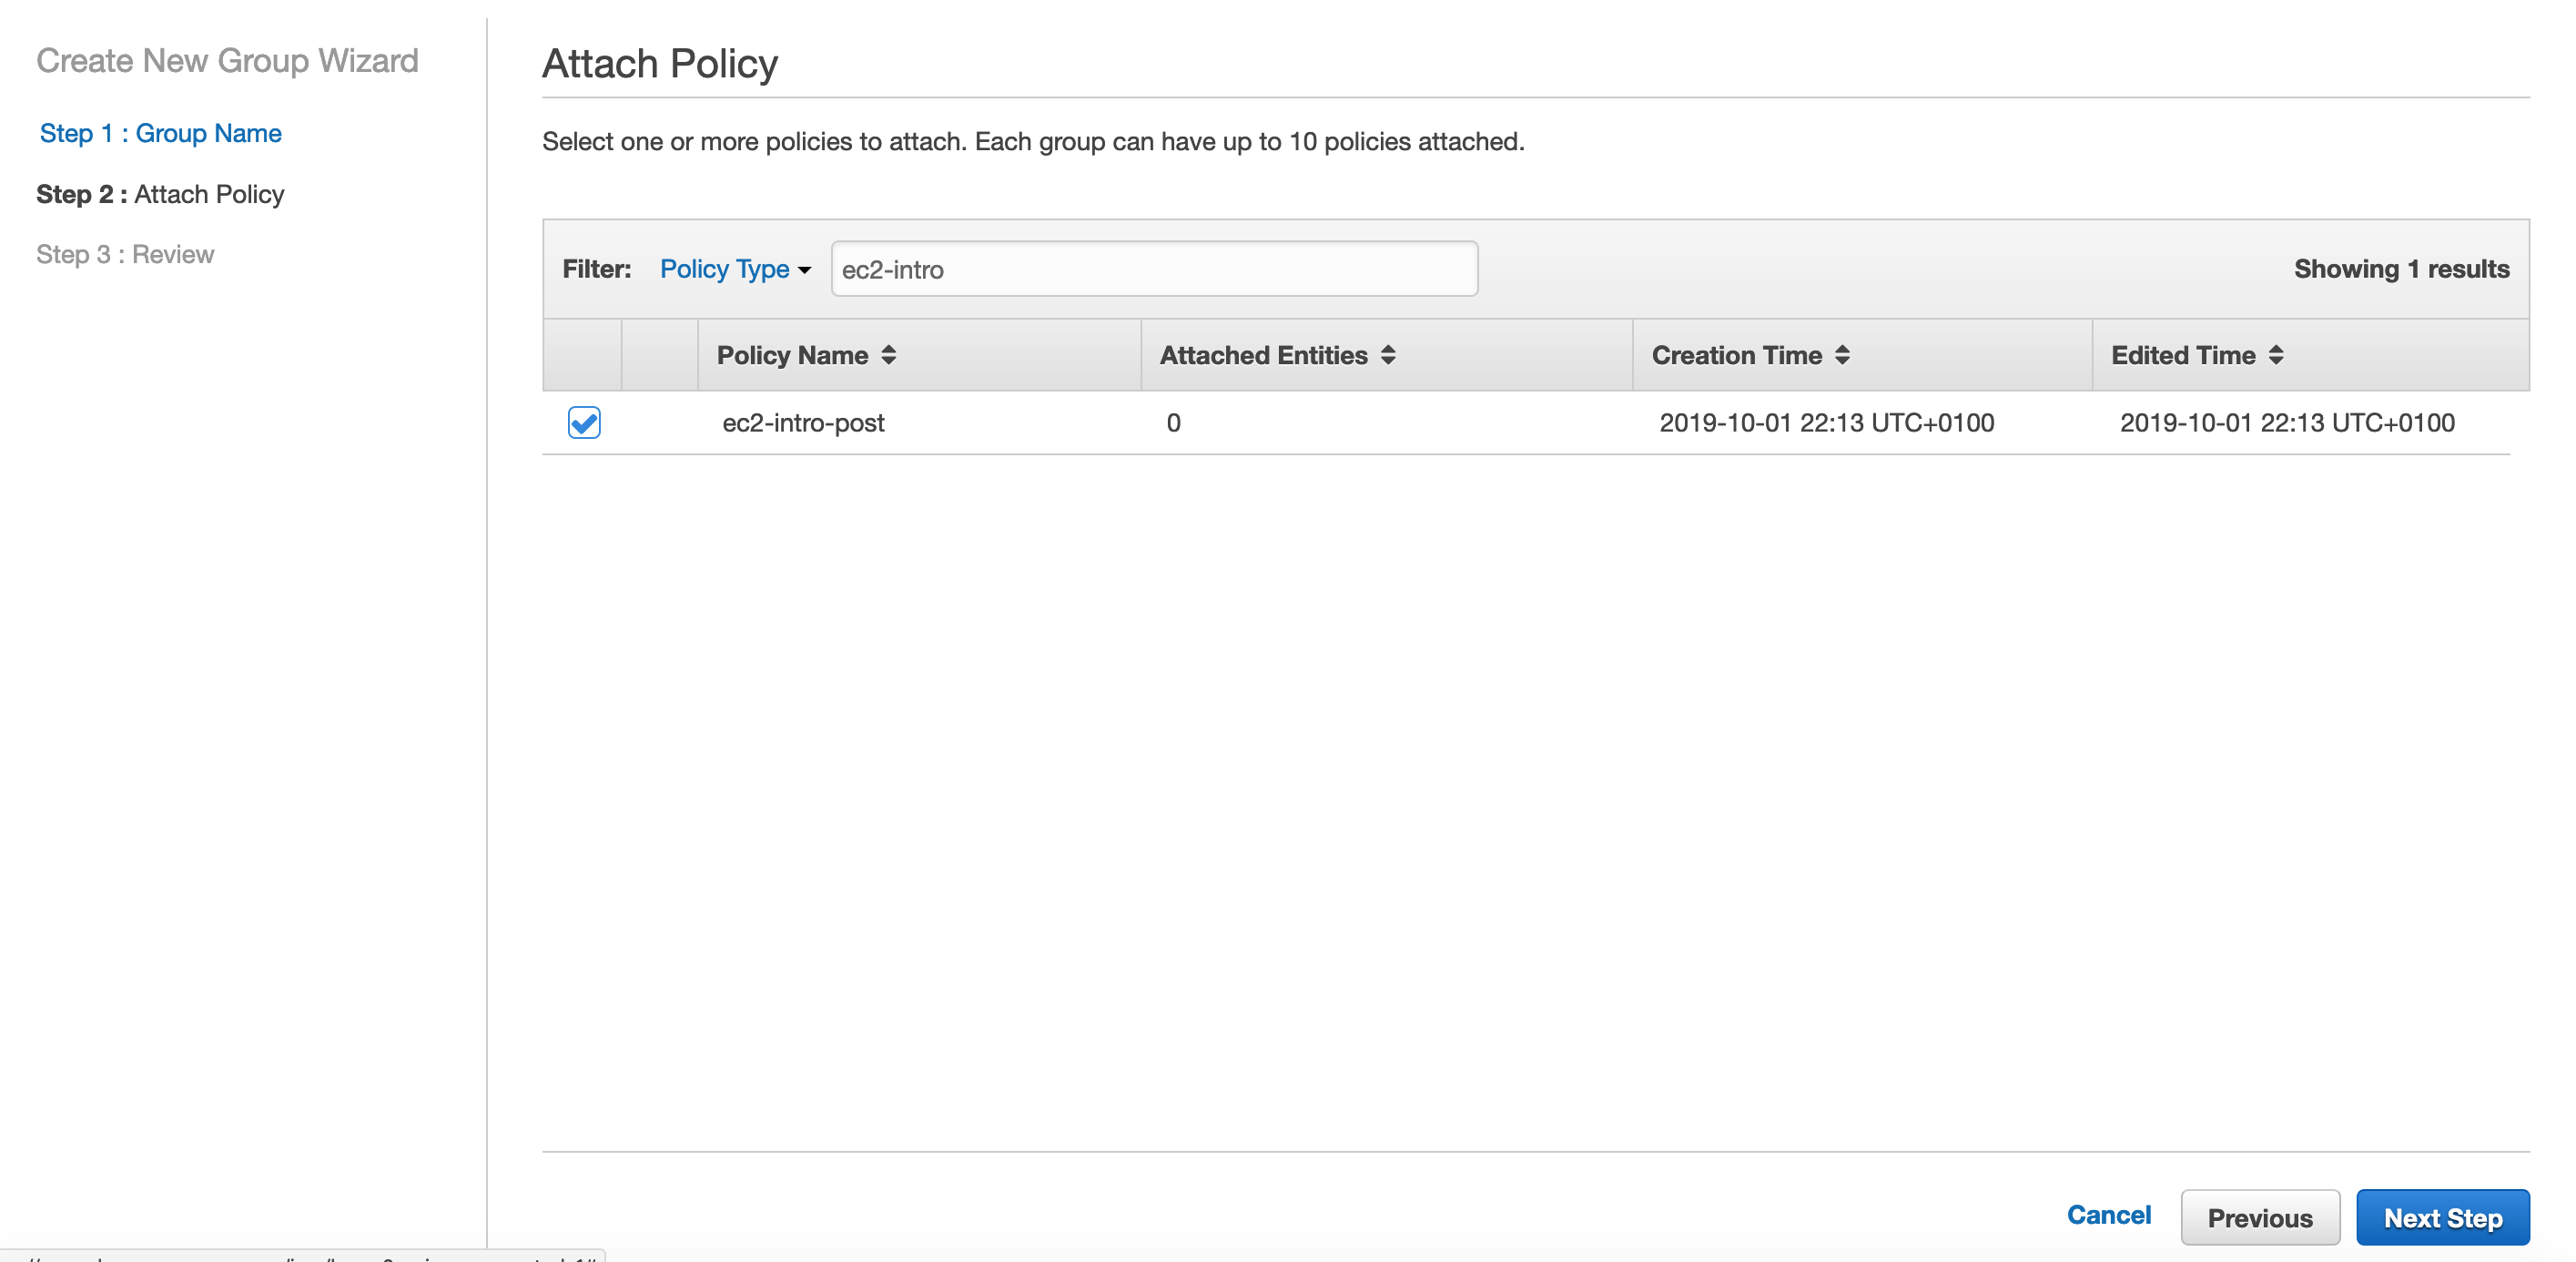
Step 4: Attach the Policy previously created
The next screen will ask you to choose one or more security policies, search for the ec2-intro-post and click next step button
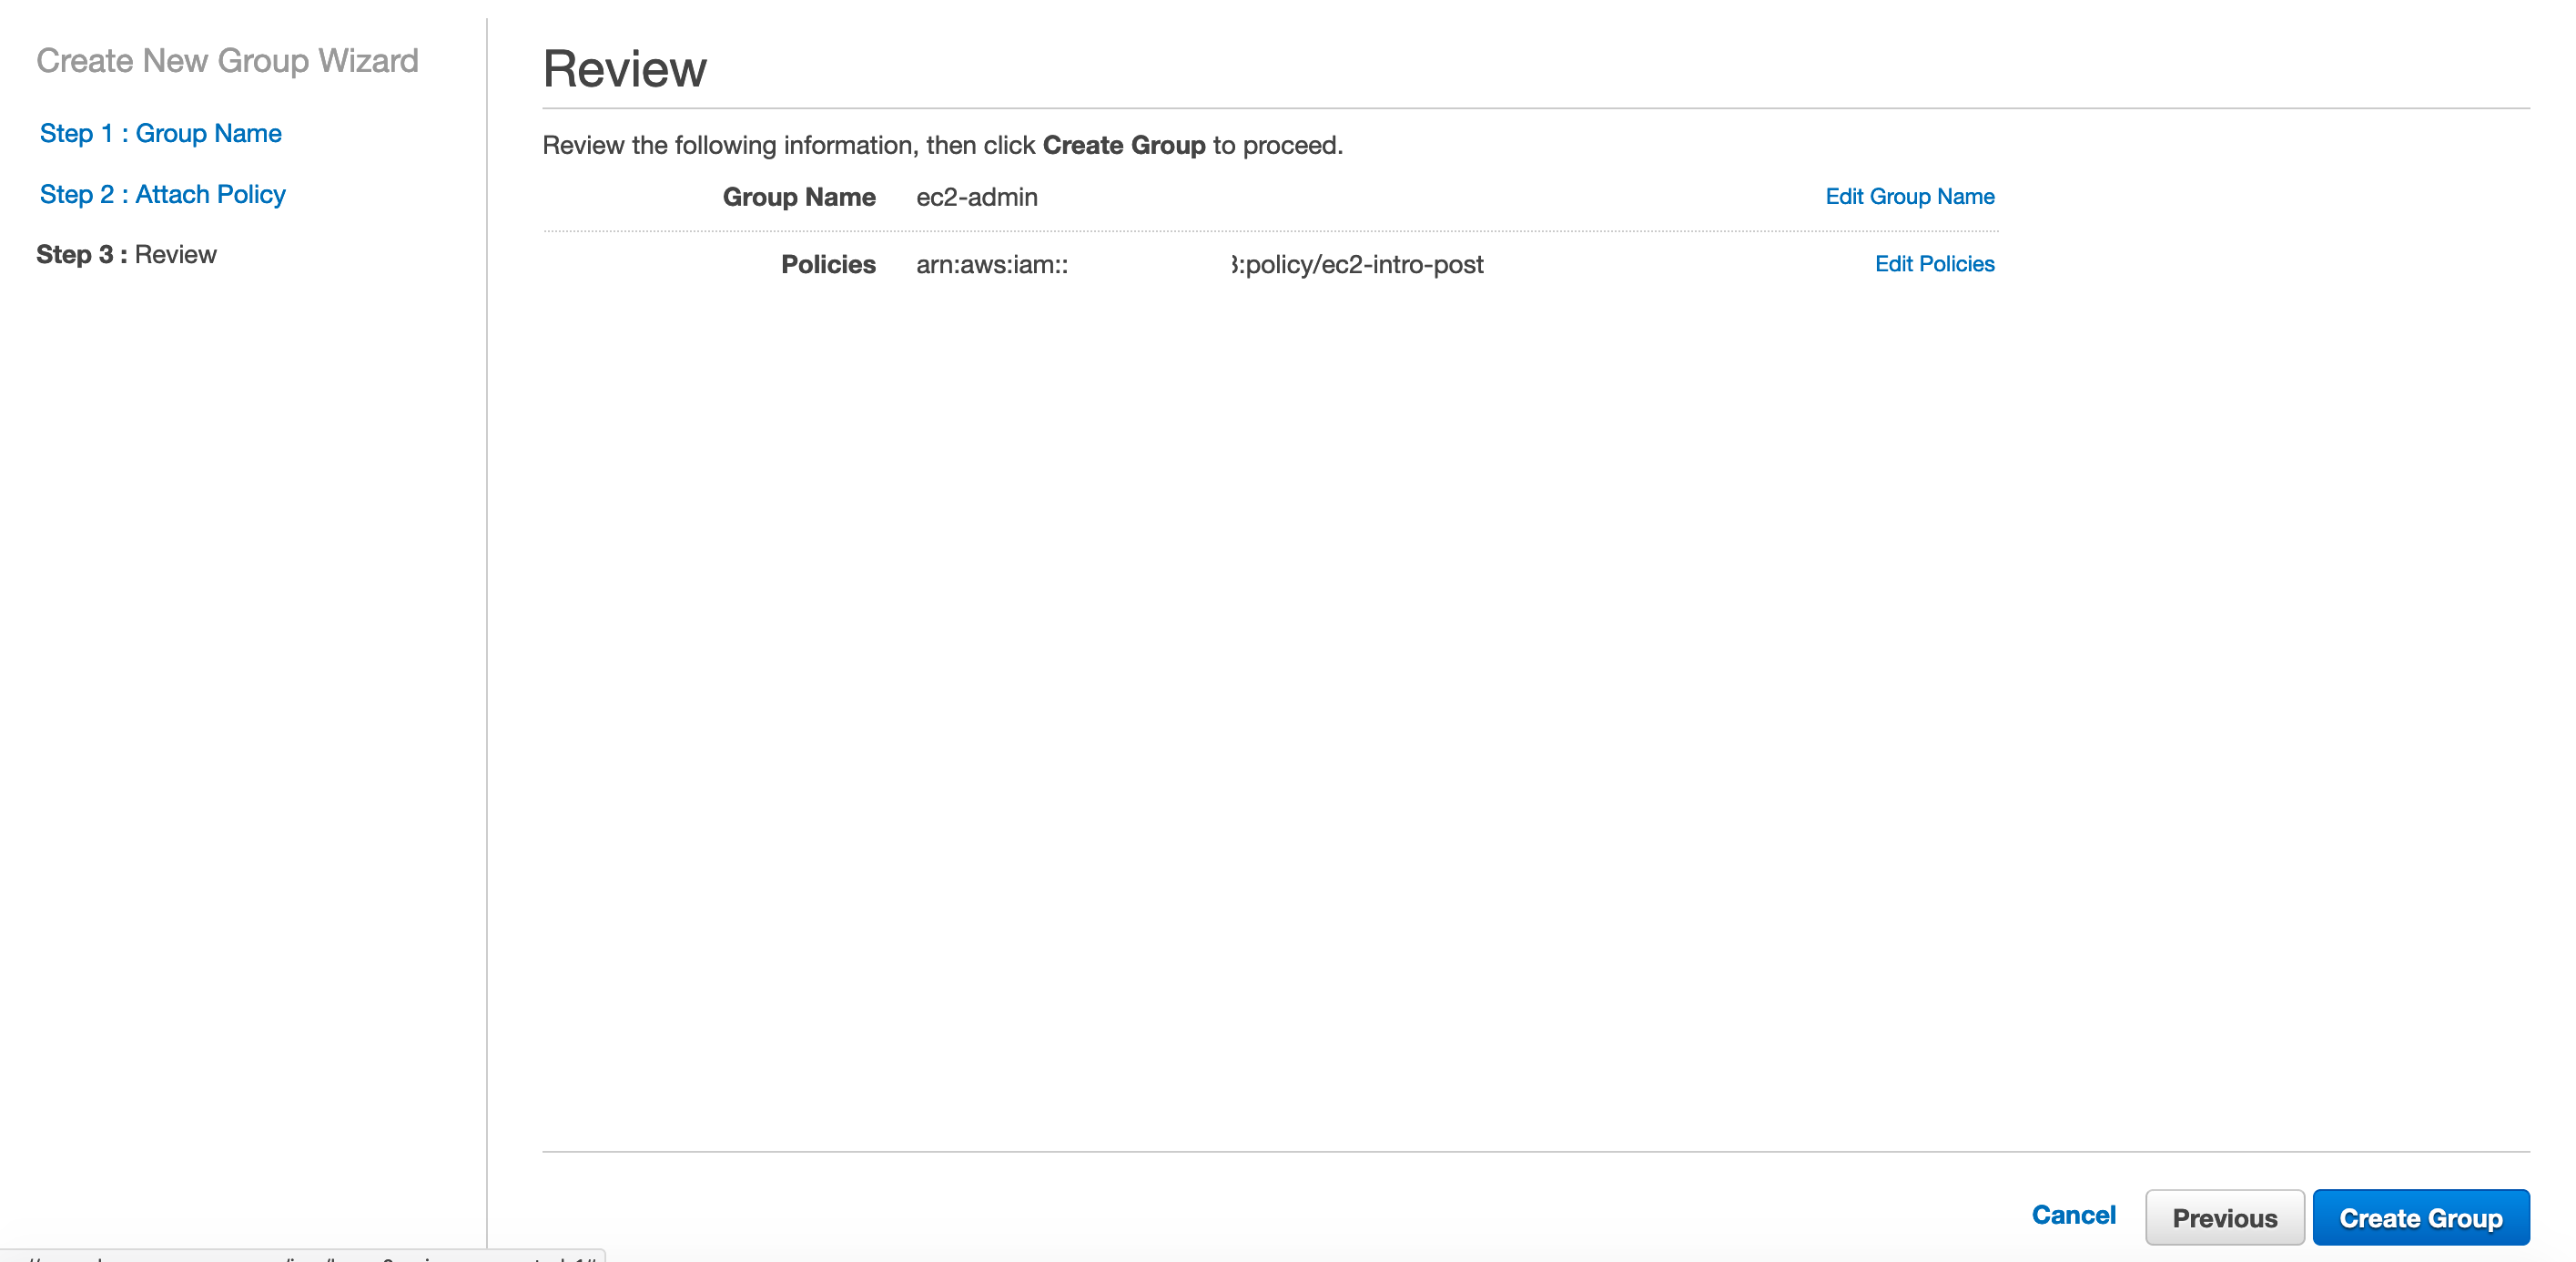
Step 5: Verify your data
Review if the data you entered is correct and click the create group button:
Creating a User with EC2 Access
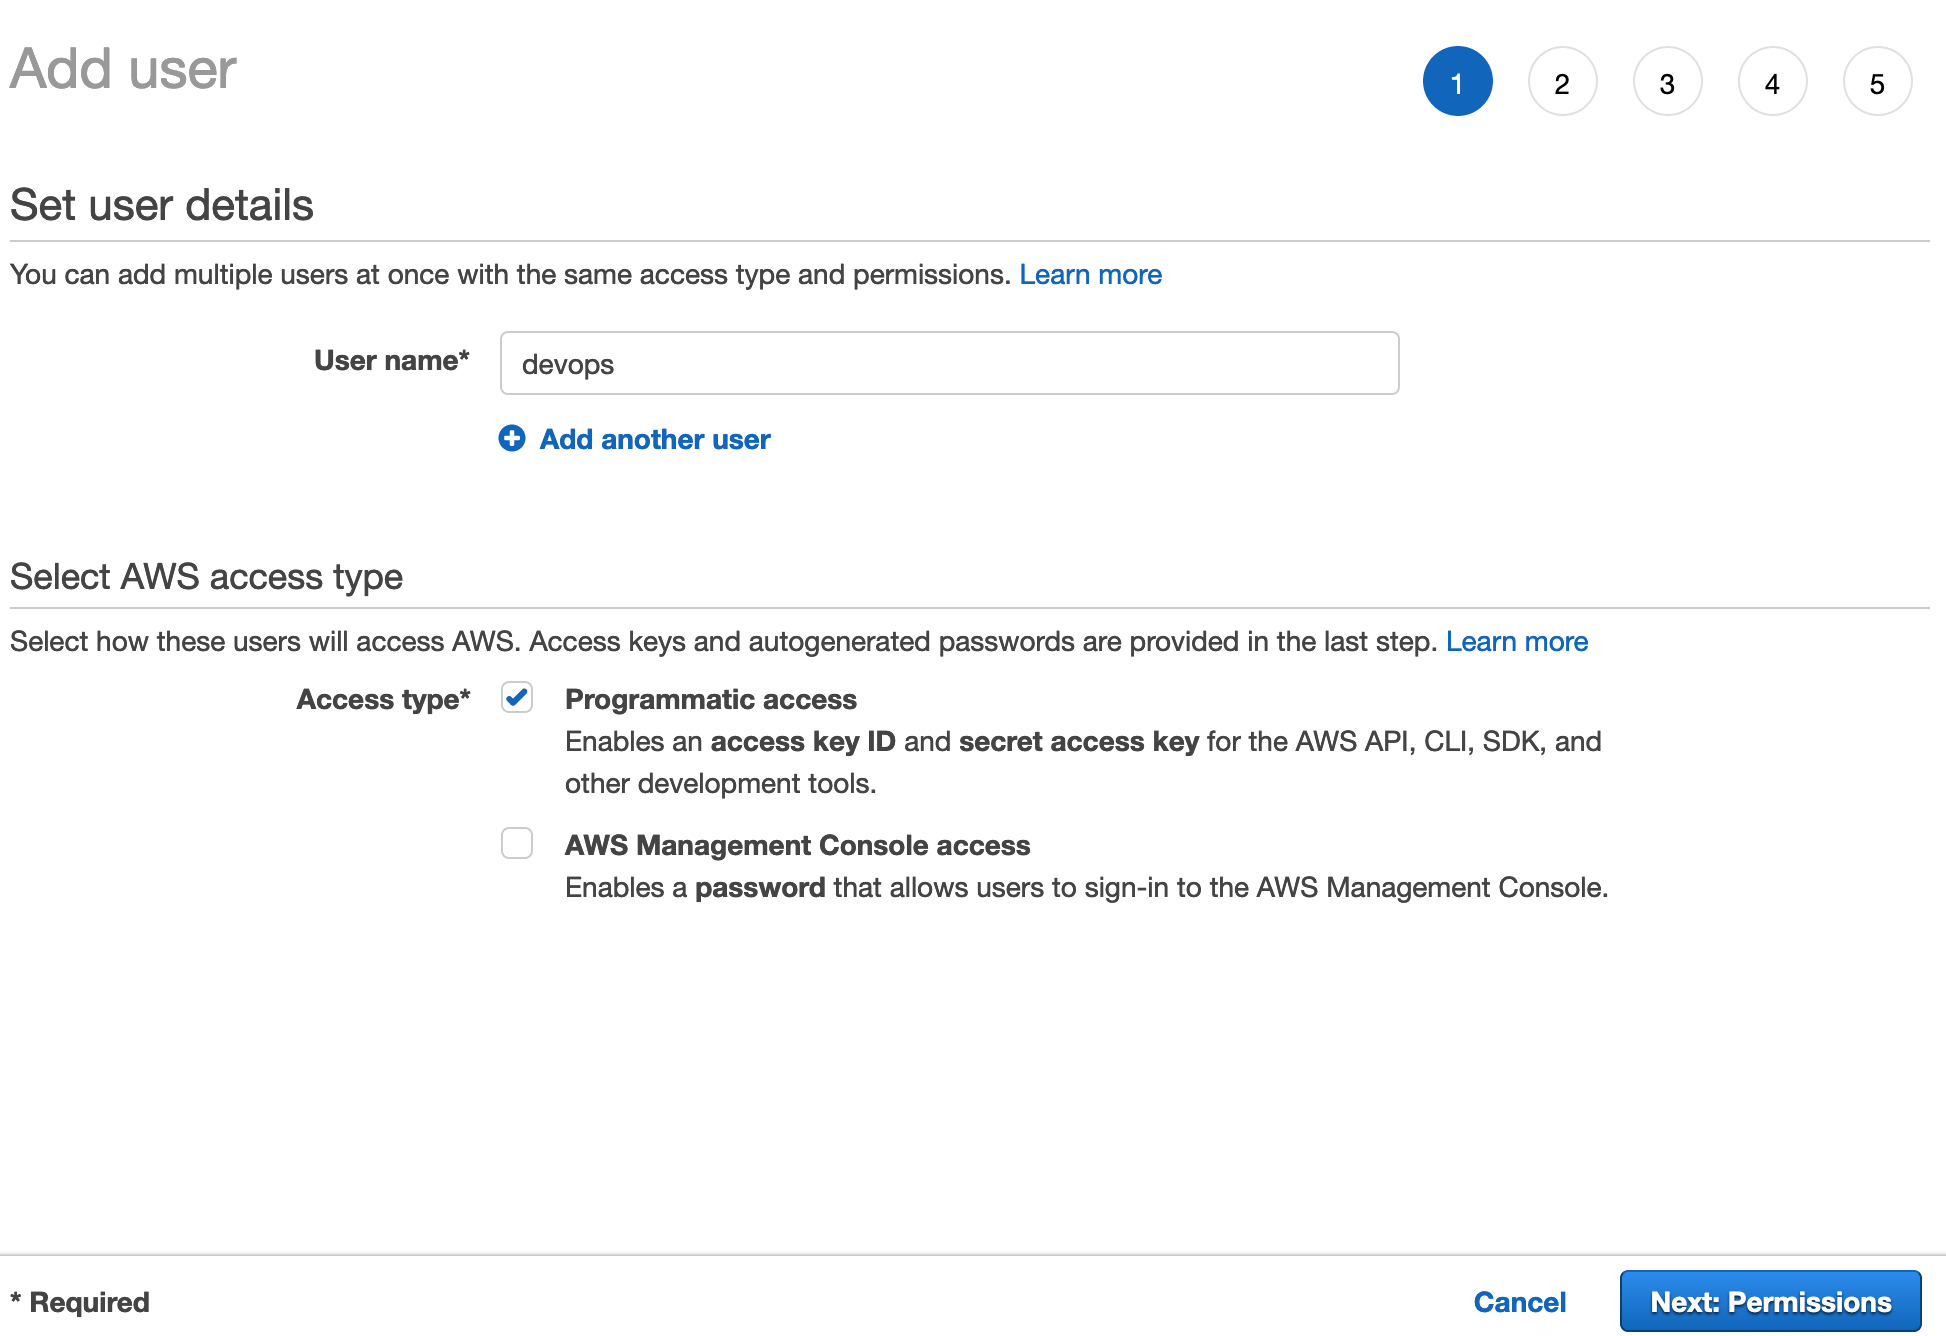
Step 1: Click the Add User button

Step 2: Add username
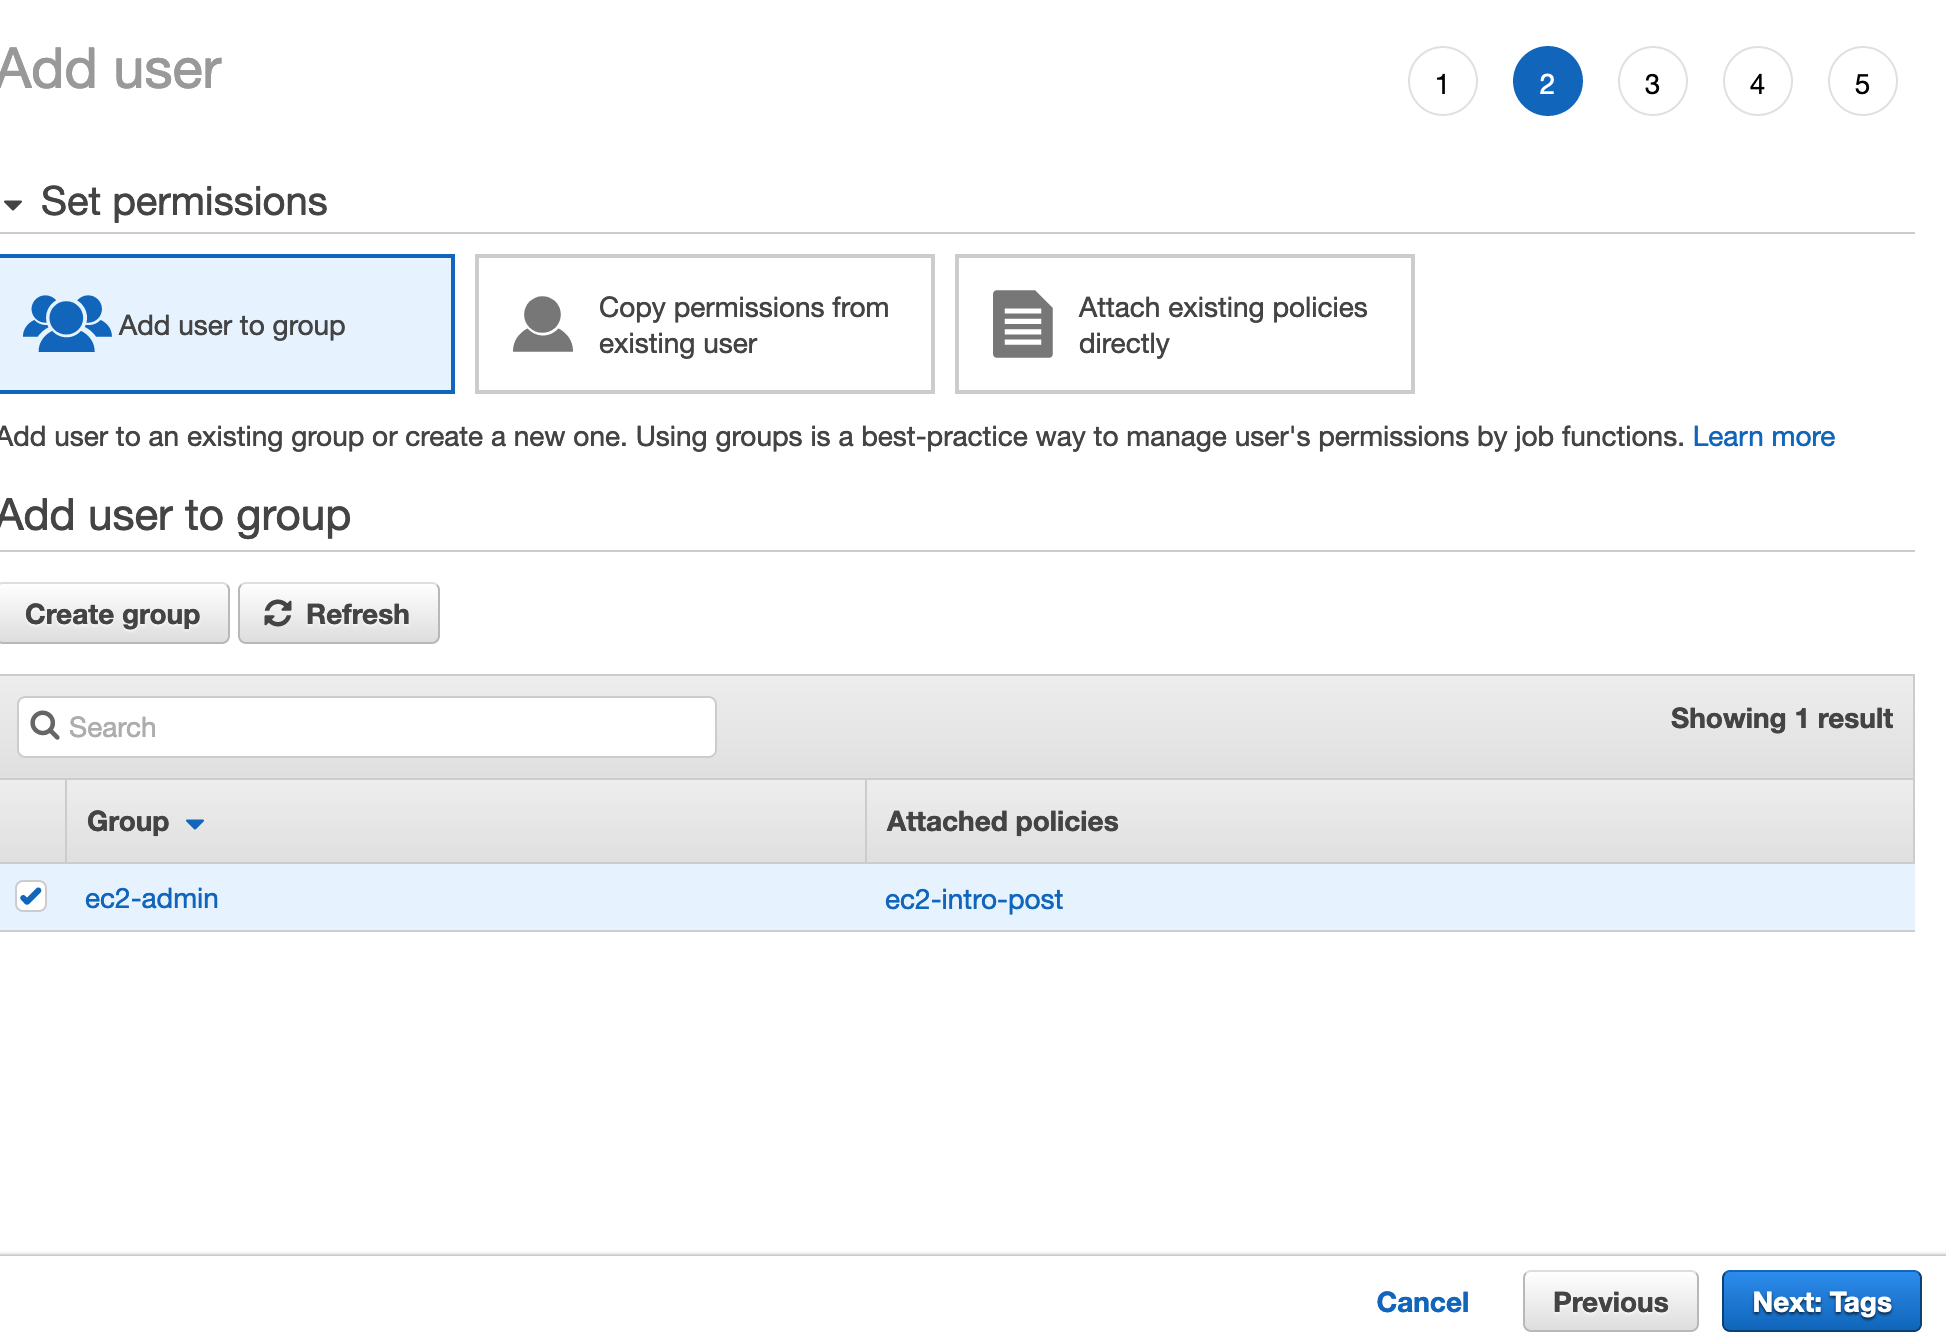
Step 3: Attach policy, make sure that the checkbox for the policy we created previously is checked
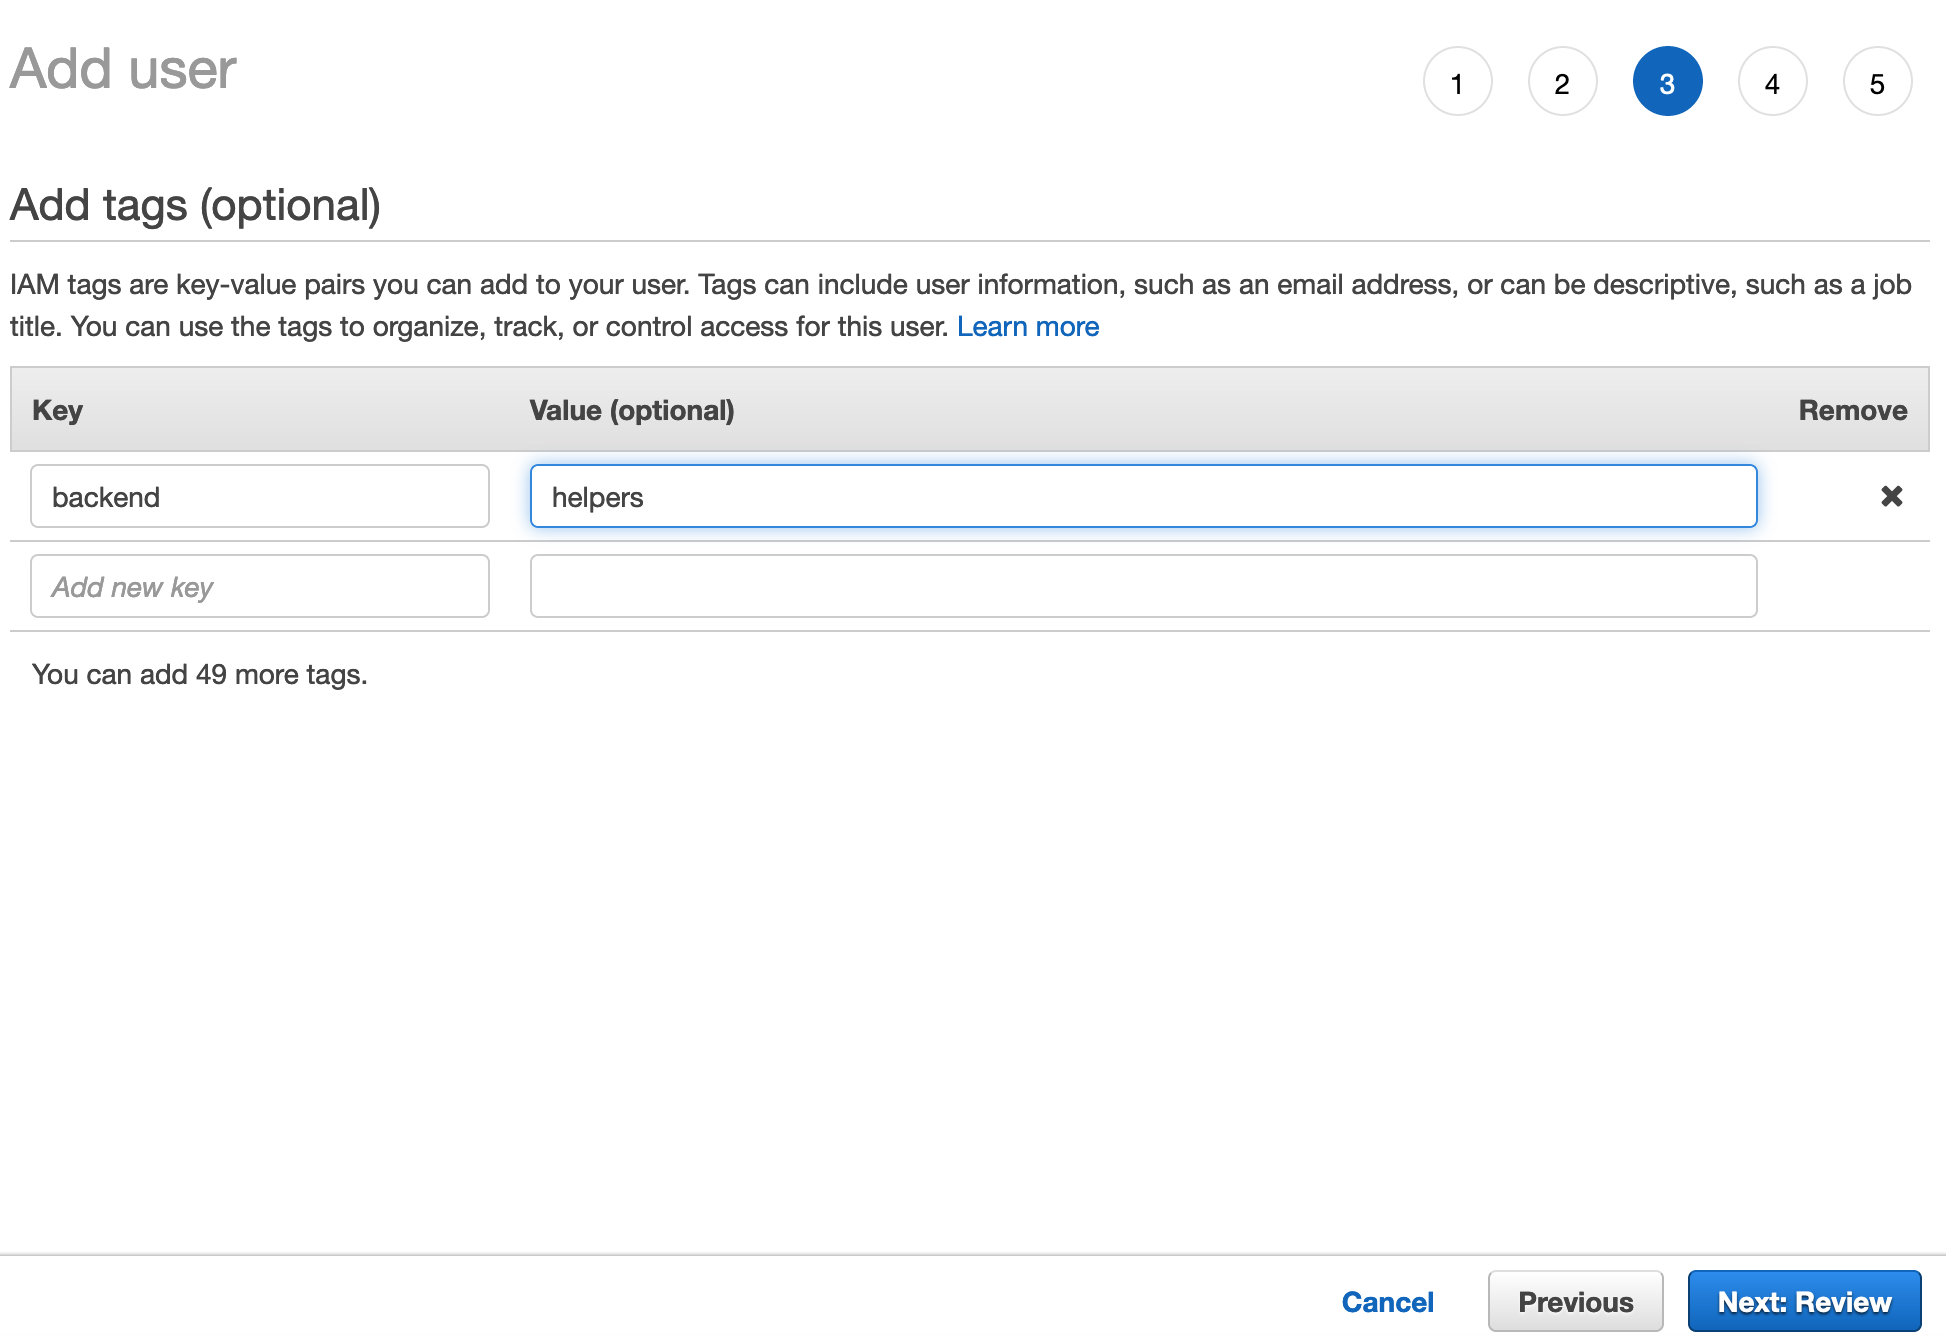
Step 4: Define some tags for your user
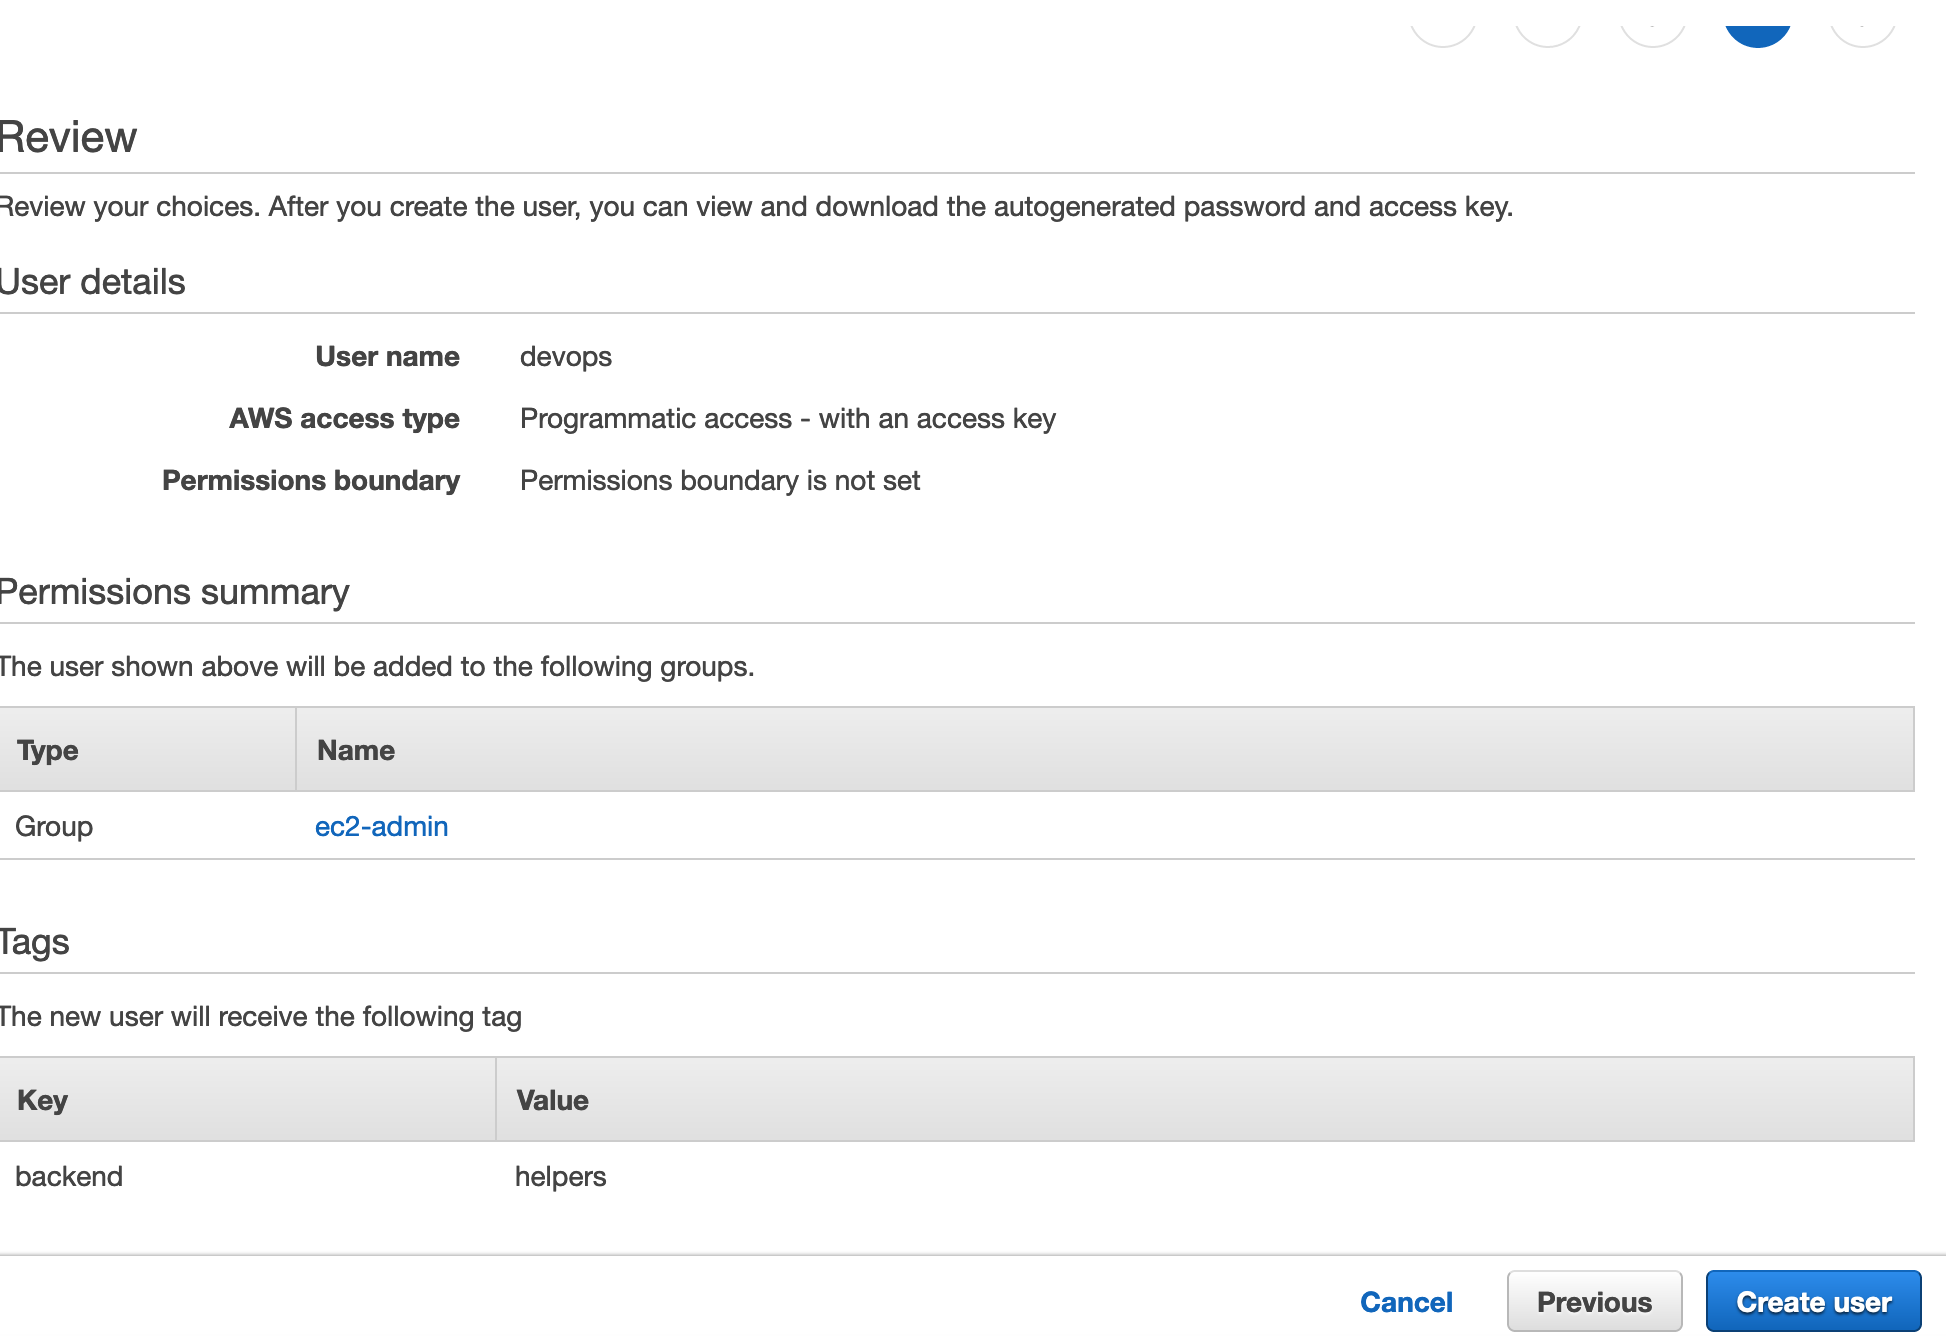
Step 5: Verify the correctness of the information you entered
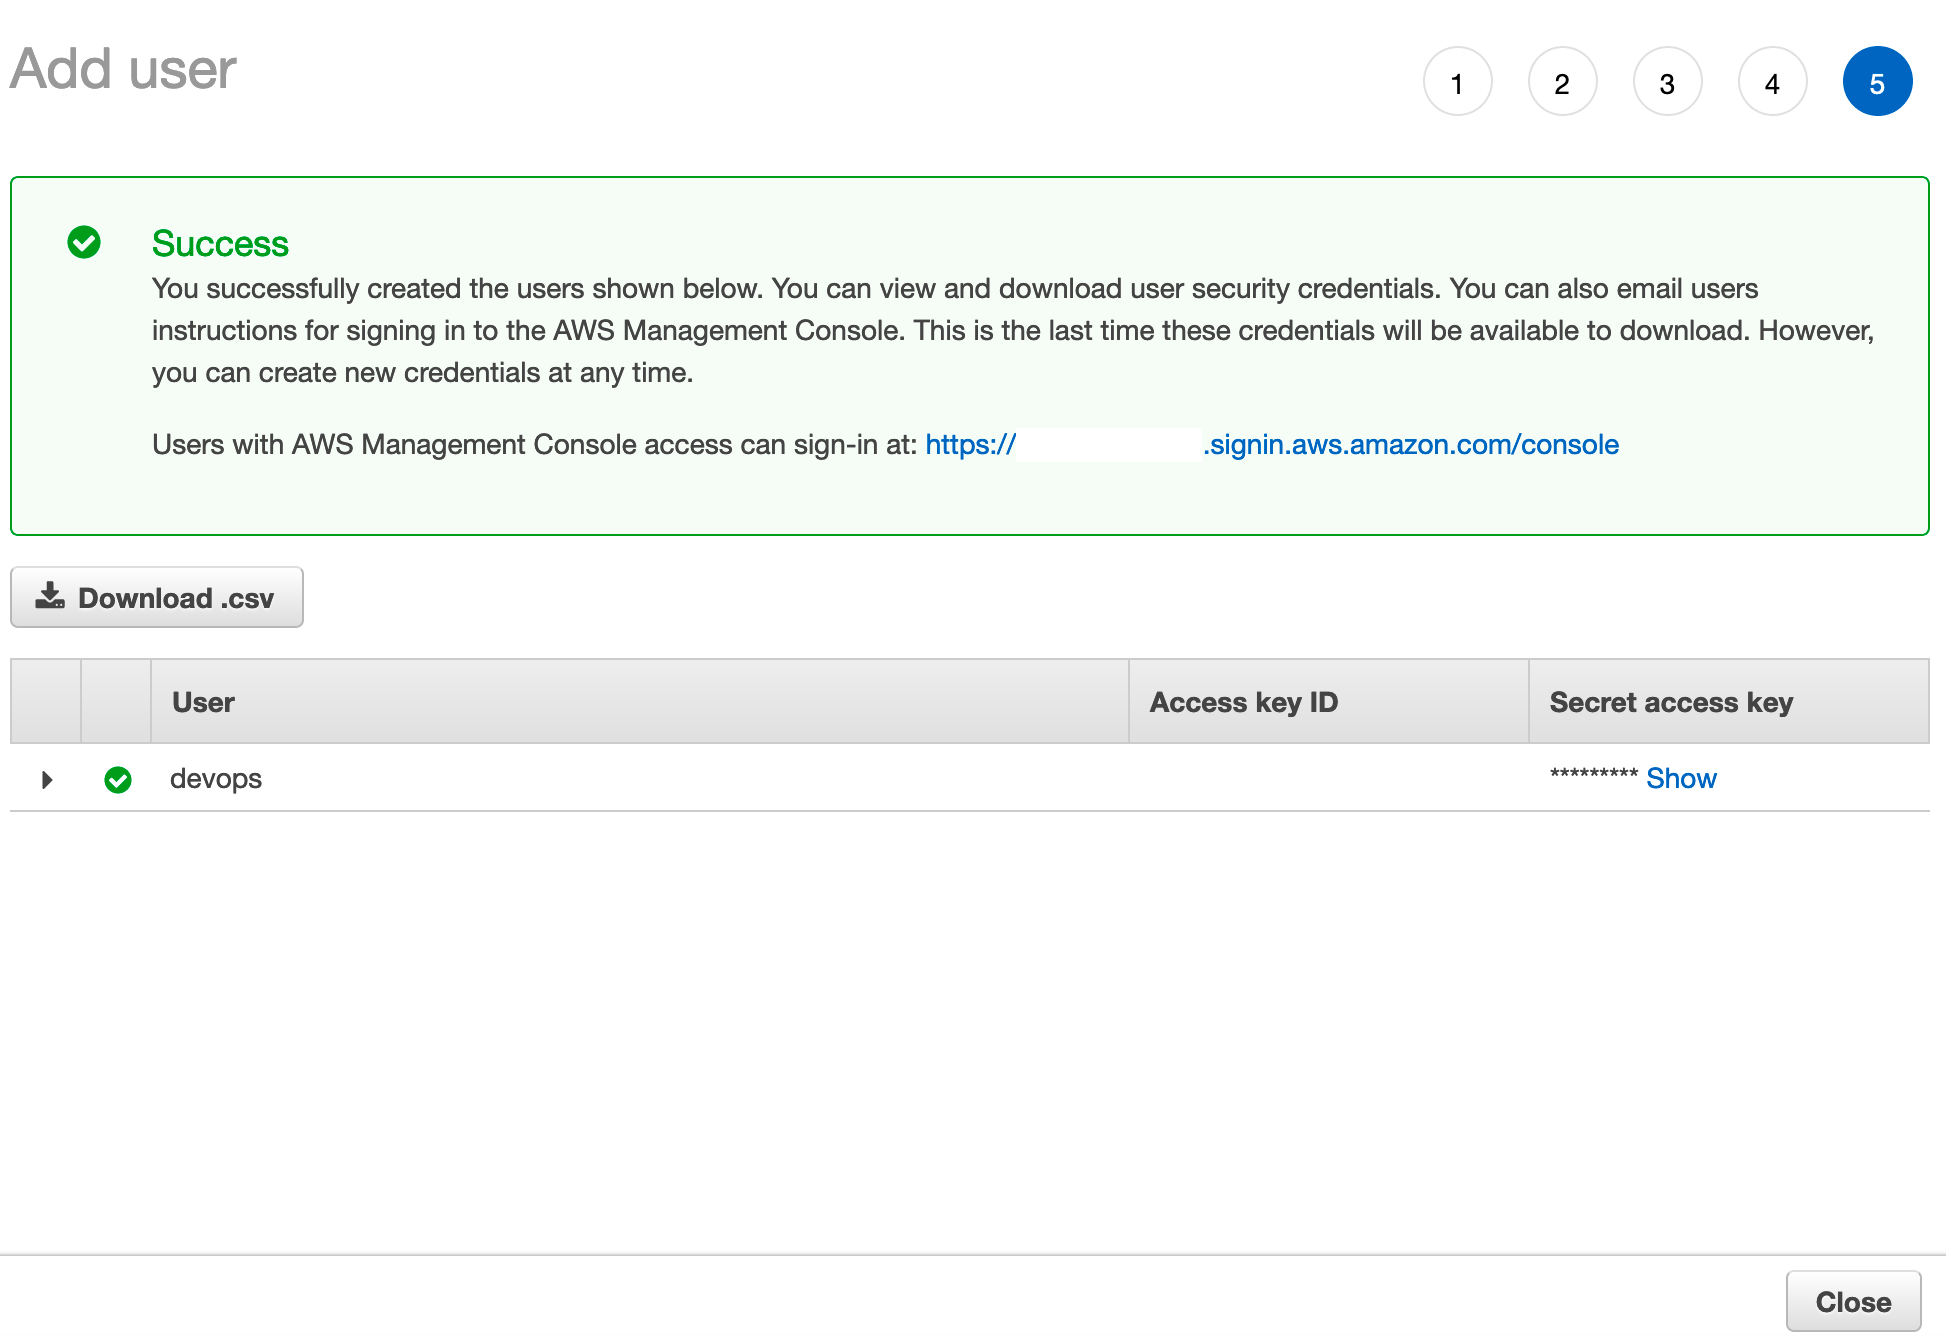
Step 6: Download your credentials by clicking the Download csv button
Step 7: Export your credentials as environ variables
export AWS_ACCESS_KEY_ID="MY_KEY"
export AWS_SECRET_ACCESS_KEY="MY_AWS_SECRET_ACCESS_KEY"
export AWS_DEFAULT_REGION="eu-west-1"
Installing and configuring AWS Command Line Interface
AWS-cli is a command line interface written in python that is used to send commands and get information from AWS. As any standard package from python can be installed via pip:
pip3 install awscli
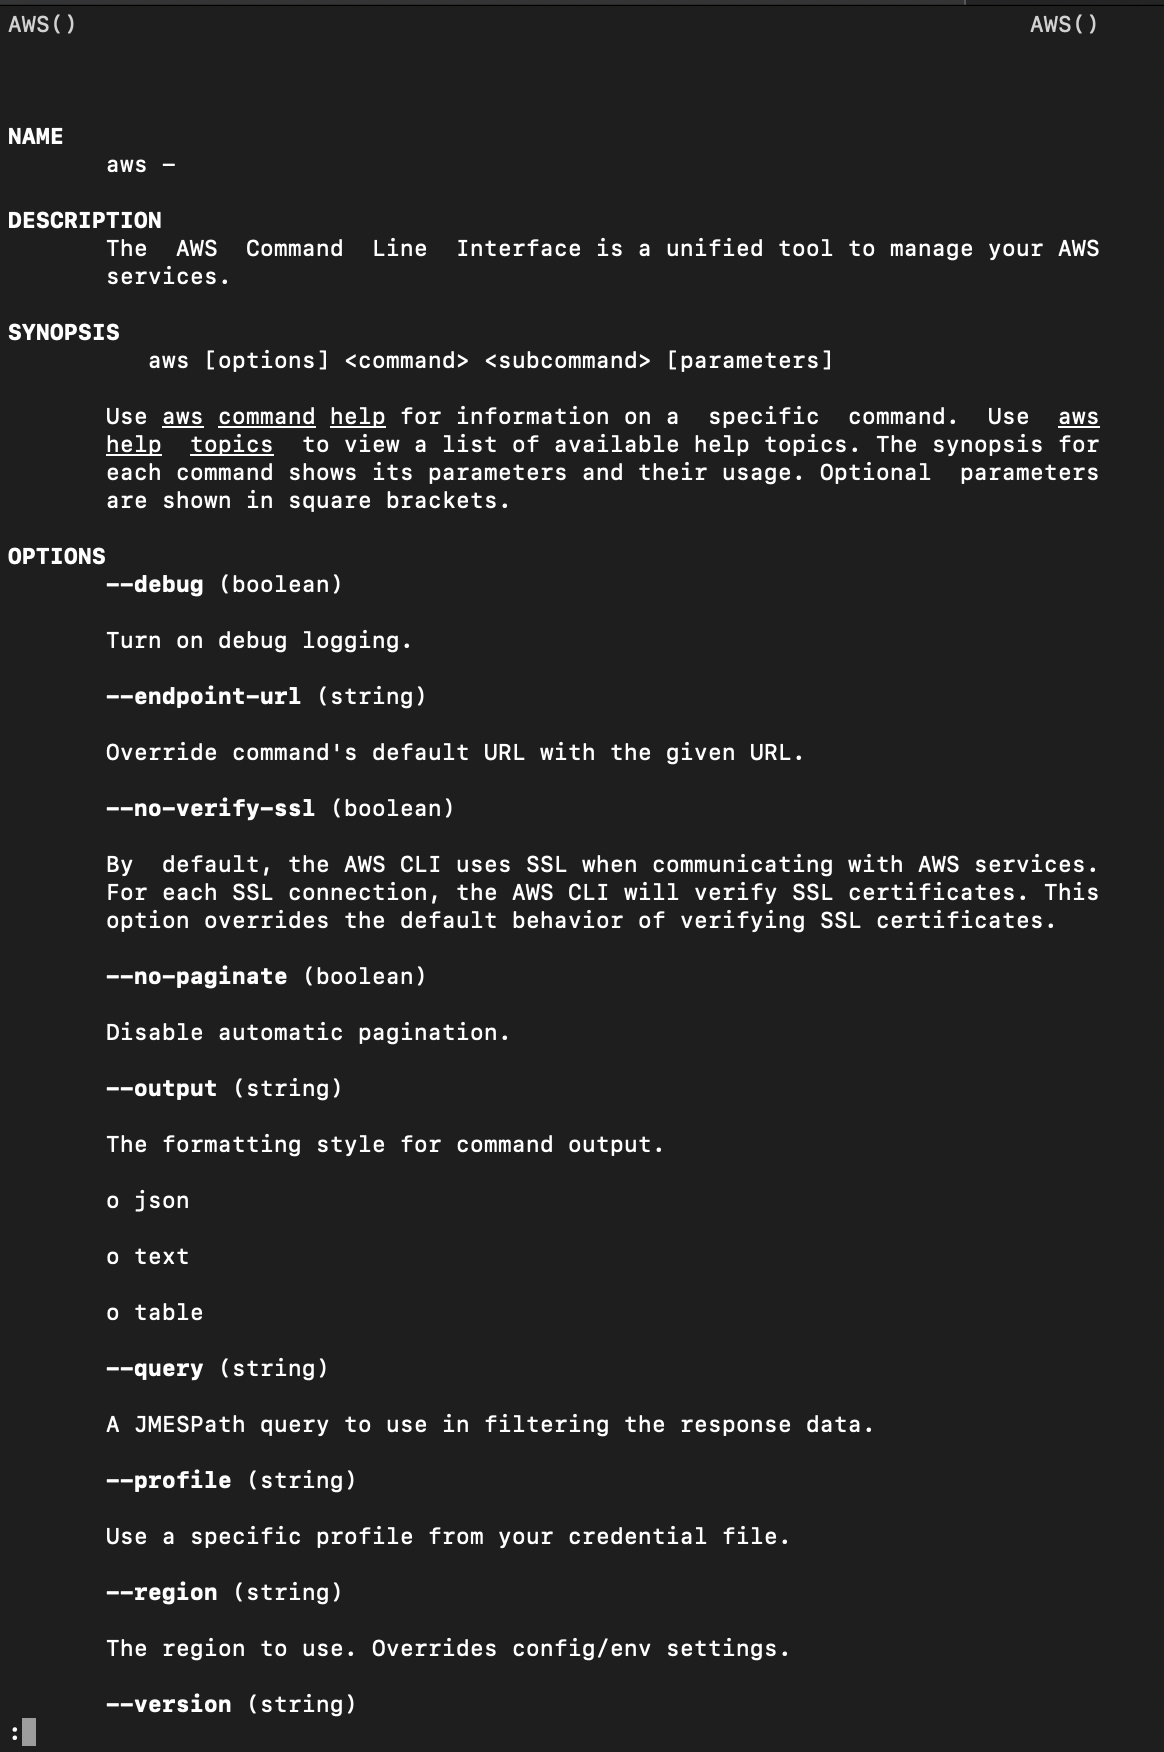
You can verify if the aws client was successfully installed in your system with the following command:
aws help
Amazon Elastic Compute Cloud EC2
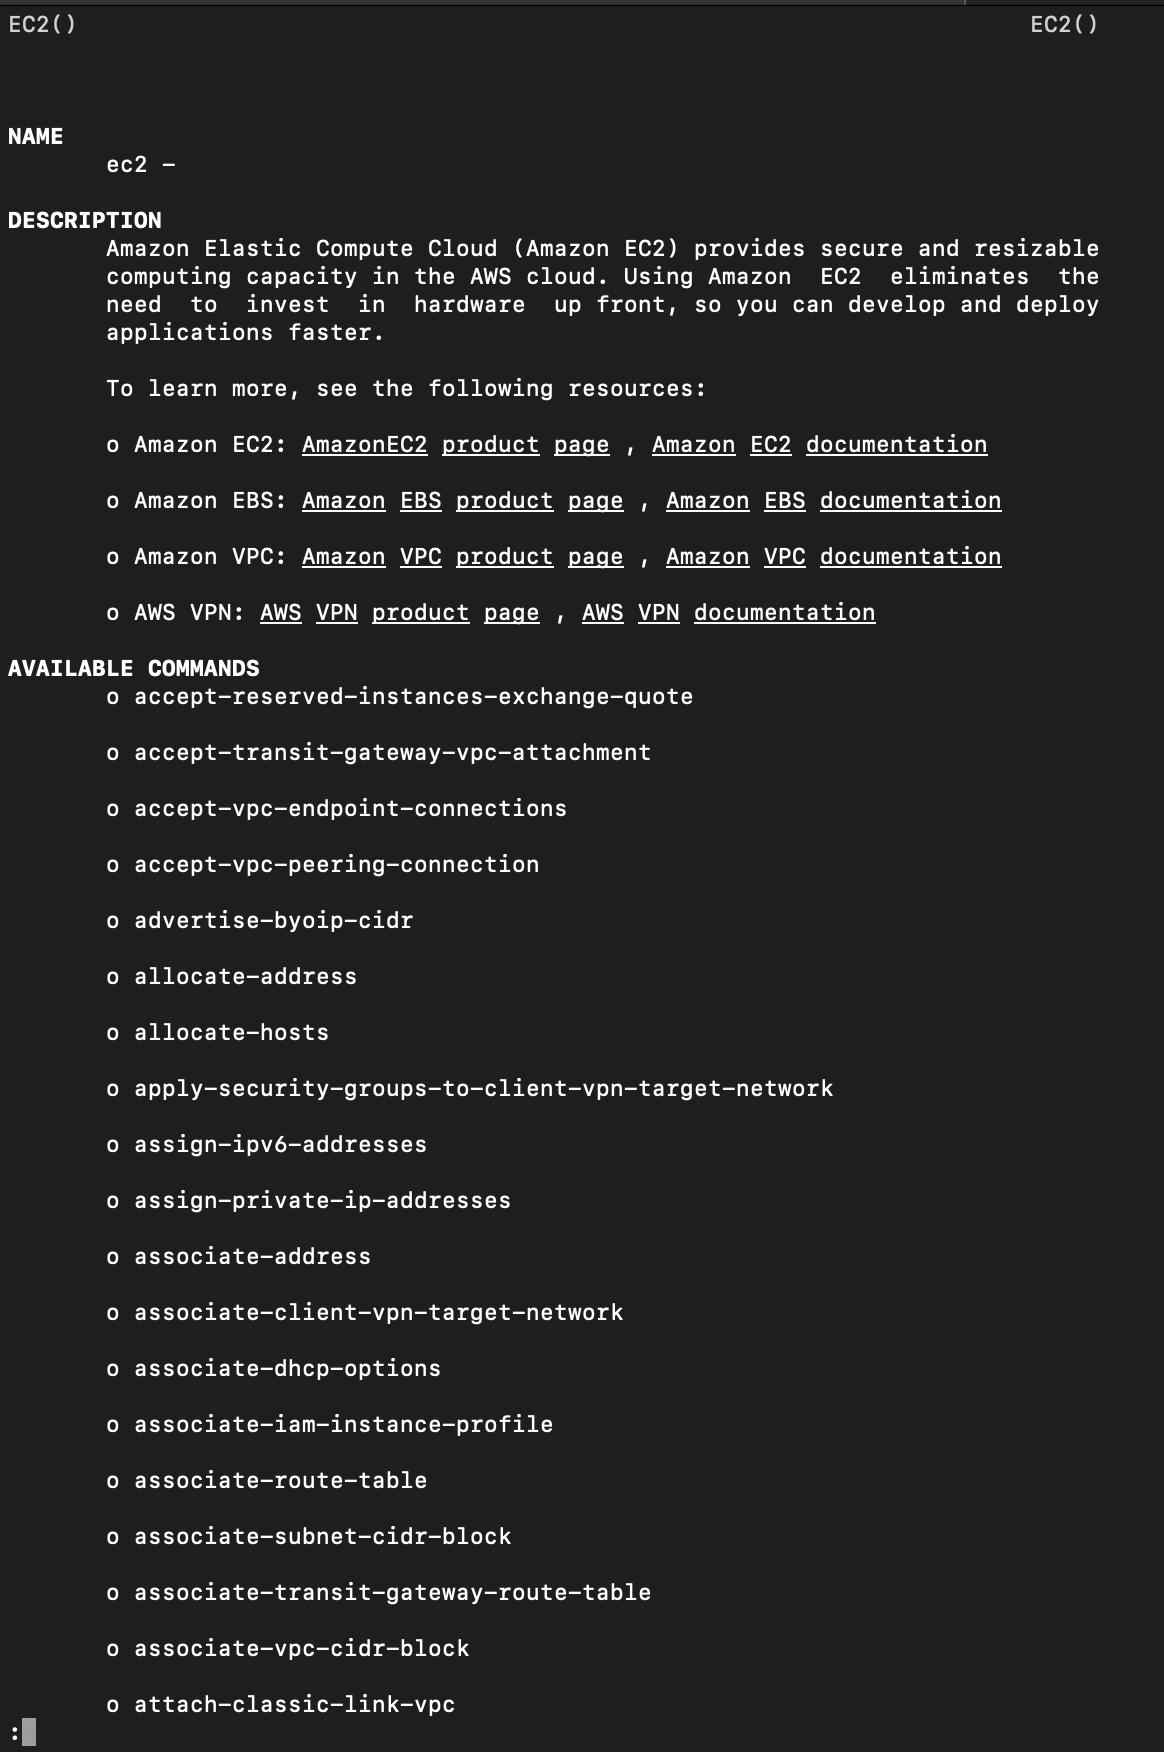
Amazon EC2 provides virtual private servers on demand. Users can create, destroy and modify resources such as disk, network interfaces, CPU, memory, etc. All the physical infrastructure is run by Amazon. This represents a very interesting opportunity for companies that can focus on building products without taking care of operational aspects such as physical security, hardware maintenance, etc.
aws help ec2
AWS EC2 Regions
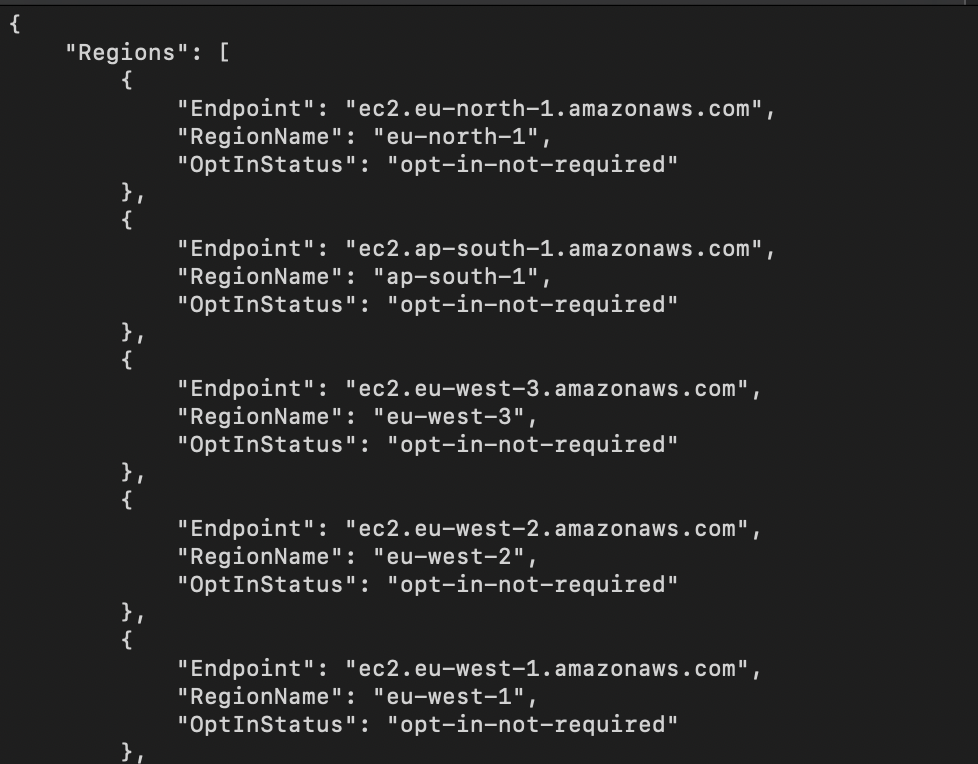
Amazon EC2 is hosted in multiple locations across the world. Each location is composed of Regions and Availability Zones. The following command shows a list of these regions and zones:
aws ec2 describe-regions
EC2 Security Groups
A security group behaves like a virtual firewall that controls the access to one or more EC2 instances. In the following steps we are going to create a security group and define custom rules for accessing instances. We also are going to associate this security groups to a user.
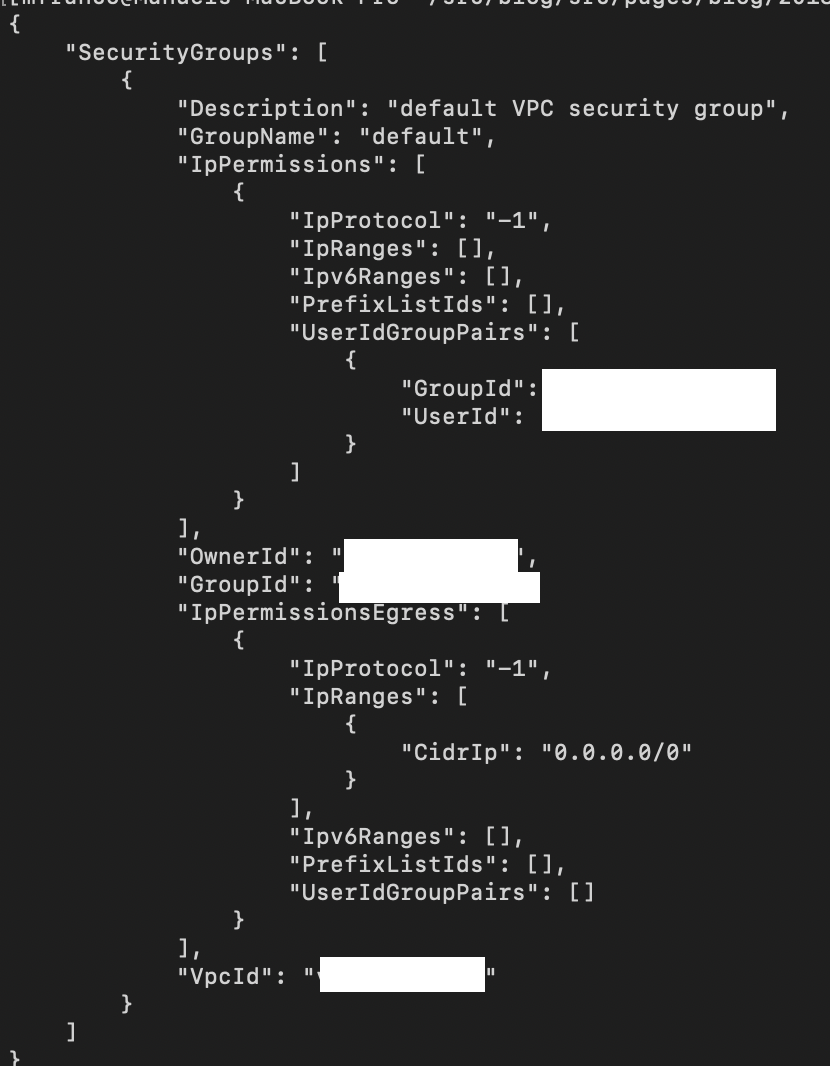
Step 1: List existing security groups
aws ec2 describe-security-groups
Step 2: Create a new group
aws ec2 create-security-group --group-name "security_test" \
  --description "Security group for testing"
Step 3: Verify the group creation
Step 4: Grant SSH access
The command aws ec2 authorize-security-group-ingress is used to grant ec2 instances access via ssh:
 aws ec2 authorize-security-group-ingress --group-name security_test \
  --protocol tcp --port 22 --cidr 0.0.0.0/0
Note: 0.0.0.0/0 makes port 22 reachable from internet.
Step 5: Create a SSH keypair
The command aws ec2 create-key-pair creates a ssh key pair:
aws ec2 create-key-pair --key-name example_key \
  --query 'KeyMaterial' --output text > ~/.ssh/example_key.pem
Amazon Machine Images (AMIs)
An AMI is a template that contains software configuration (Operative System, Applications, etc). An instance is a running copy of this template. Several instances may be created from a single AMI.
Amazon Linux AMIs
Amazon Linux is Linux distribution similar to Red Hat/ CentOs with the advantage that is developed and maintained by Amazon. The following functionalities are provided by this AMI:
- Security updates released by Amazon
- Drivers tuned for optimal performance inside Amazon environment
- AWS support
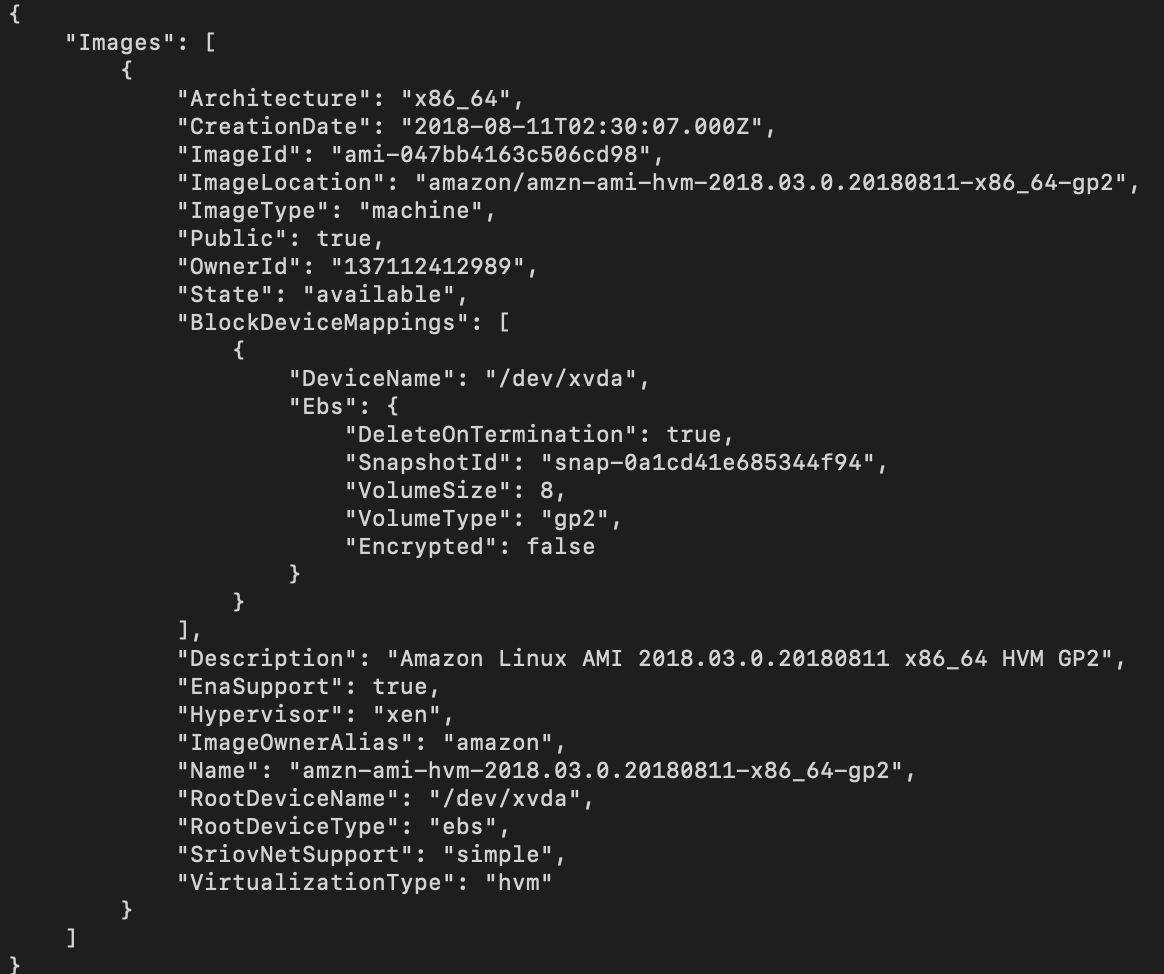
We will choose for this post an AMI ami-047bb4163c506cd98 which is available only for eu-west-1 region . In the following link you can find a list of Amazon Linux AMIs for every region .
You can see the ami list using the aws ec2 describe-images command:
aws ec2 describe-images --image-ids '["ami-047bb4163c506cd98"]'
AWS EC2 Instance Types
EC2 provides multiple instances types. Every time chose a combination of resources such as memory, CPU, disk, etc. In this post we will use a small instance for general purpose computation with the code t2.nano . In the following link you will find more information about the different options you have
Listing and Creating Ec2 Instances
Step 1: Listing EC2 Instances
The following command list all the instances by account:
aws ec2 describe-instances
Step 2: Running EC2 Instances
The command aws ec2 run-instances may be used to run a ec2 instance:
aws ec2 run-instances --image-id ami-047bb4163c506cd98 \
   --instance-type t2.nano --key-name example_key \
   --security-groups security_test
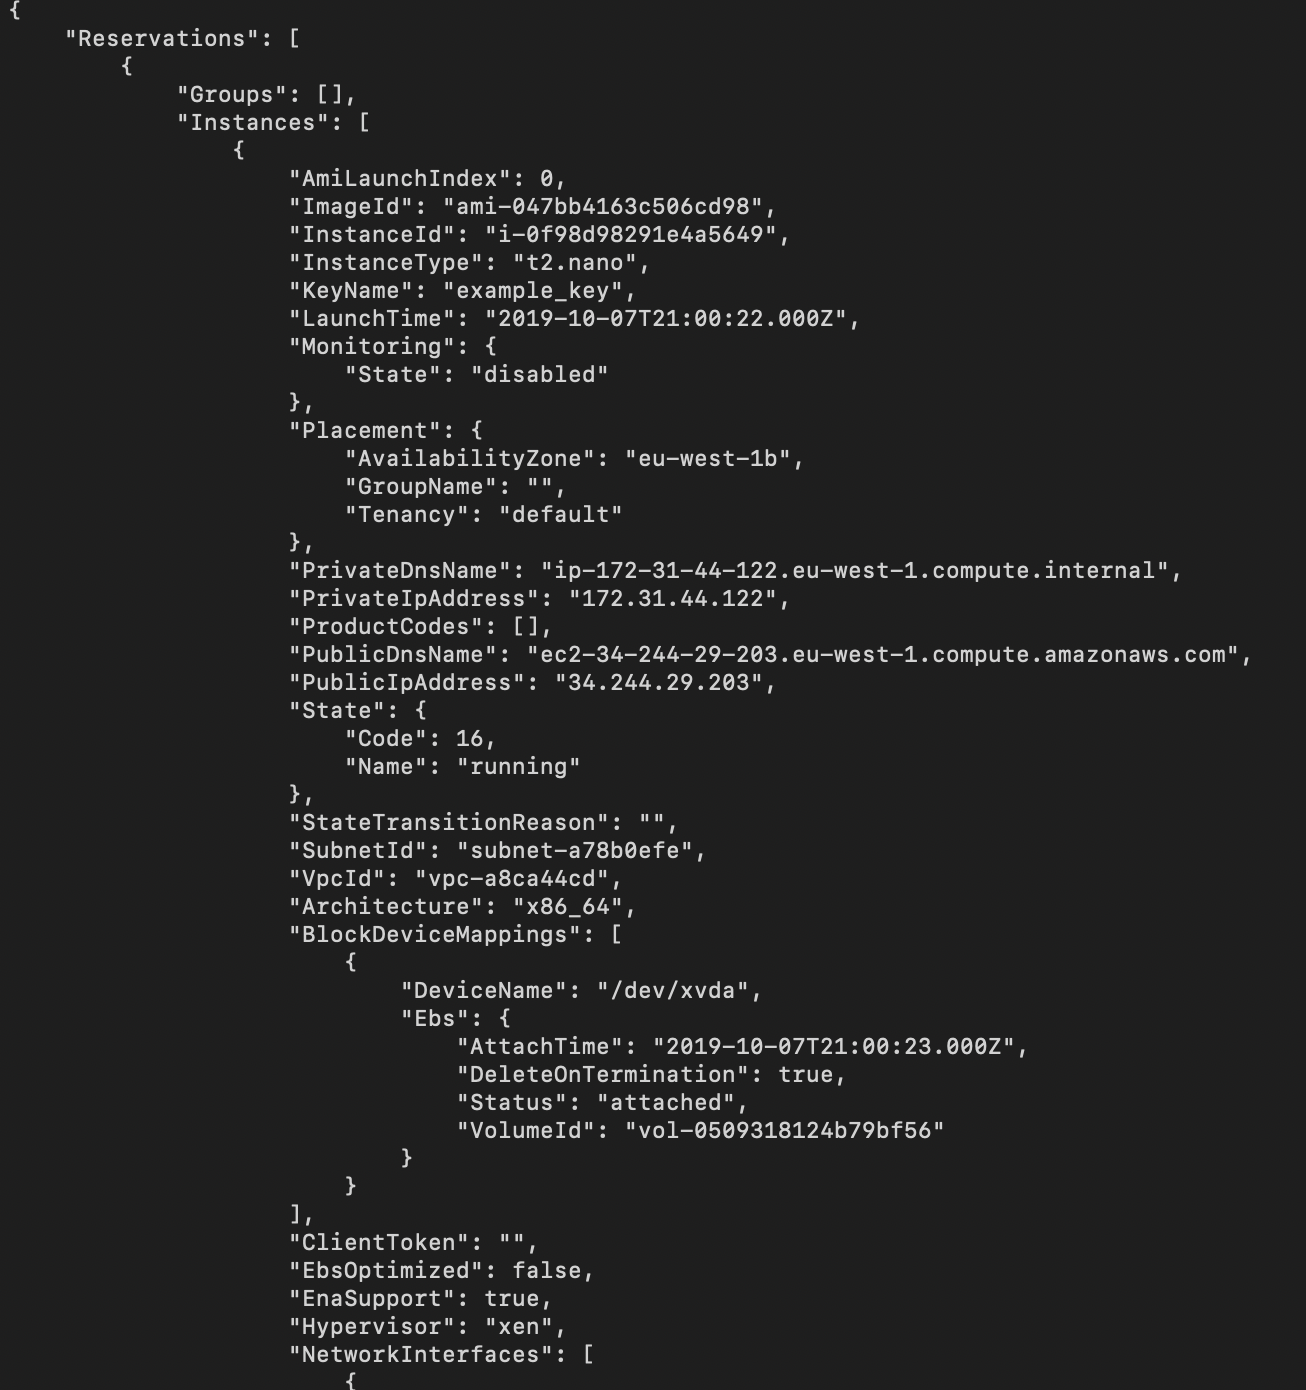
Step 3: Listing EC2 Instances to Verify the Instance Creation
aws ec2 describe-instances
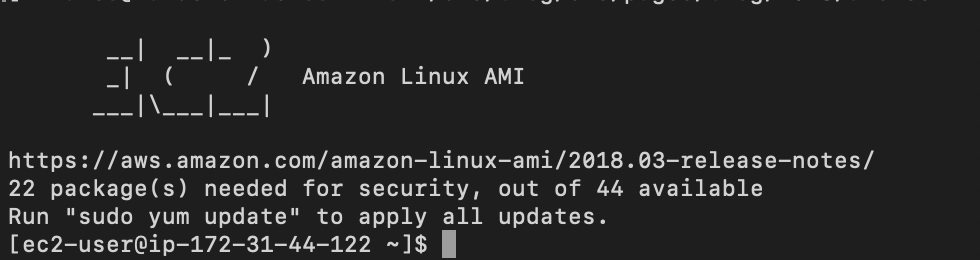
Step 4: Connecting to the EC2 instances via ssh
Run the command aws ec2 describe-instance to get the public url for your instance in the value PublicDnsName. The username for amazon linux is ec2-user
ssh -i ~/.ssh/example_key.pem ec2-user@ec2-34-244-29-203.eu-west-1.compute.amazonaws.com
Step 5: Terminating an instance
aws ec2 terminate-instances --instance-ids i-0f98d98291e4a5649